Sharing Your Outlook Calendar: A Comprehensive Guide
Related Articles: Sharing Your Outlook Calendar: A Comprehensive Guide
Introduction
With great pleasure, we will explore the intriguing topic related to Sharing Your Outlook Calendar: A Comprehensive Guide. Let’s weave interesting information and offer fresh perspectives to the readers.
Table of Content
Sharing Your Outlook Calendar: A Comprehensive Guide

Microsoft Outlook remains a cornerstone of productivity for millions, and its calendar function is a crucial part of that. But its power extends beyond personal organization. Sharing your Outlook calendar allows for seamless collaboration, improved team communication, and efficient scheduling, whether you’re coordinating with colleagues, family, or clients. This article provides a comprehensive guide to sharing your Outlook calendar, covering various sharing methods, permissions, troubleshooting, and best practices.
Understanding the Different Sharing Options:
Outlook offers several ways to share your calendar, each with different levels of access and control:
-
Publishing a Calendar: This method makes your calendar publicly accessible via a web link. Anyone with the link can view your calendar, but they cannot make changes. This is ideal for situations where you want to provide read-only access to a large audience, such as posting your availability for appointments.
-
Sharing with Specific Individuals or Groups: This allows you to grant specific permissions to selected individuals or groups within your organization. You can choose to grant them viewing rights, editing rights, or even the ability to create appointments on your behalf. This is the most common and versatile method for sharing calendars within a team or with close collaborators.
-
Delegating Access: This grants another user full control over your calendar. They can view, edit, and even delete appointments on your behalf. This is usually reserved for assistants or trusted colleagues who need to manage your schedule.
Step-by-Step Guide to Sharing Your Outlook Calendar:
The process of sharing varies slightly depending on whether you’re using the Outlook desktop application or the Outlook web app (OWA). Let’s explore both:
1. Sharing via Outlook Desktop Application:
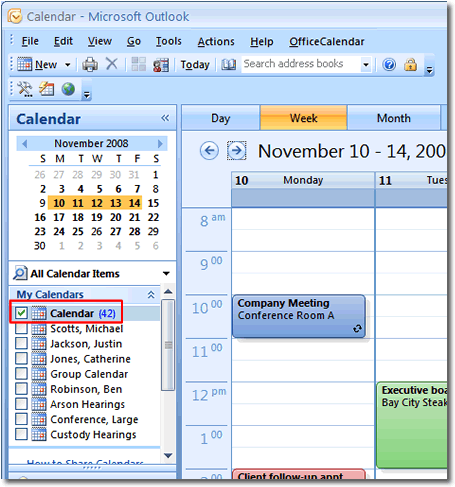
- Open your Calendar: Launch Outlook and navigate to your calendar view.
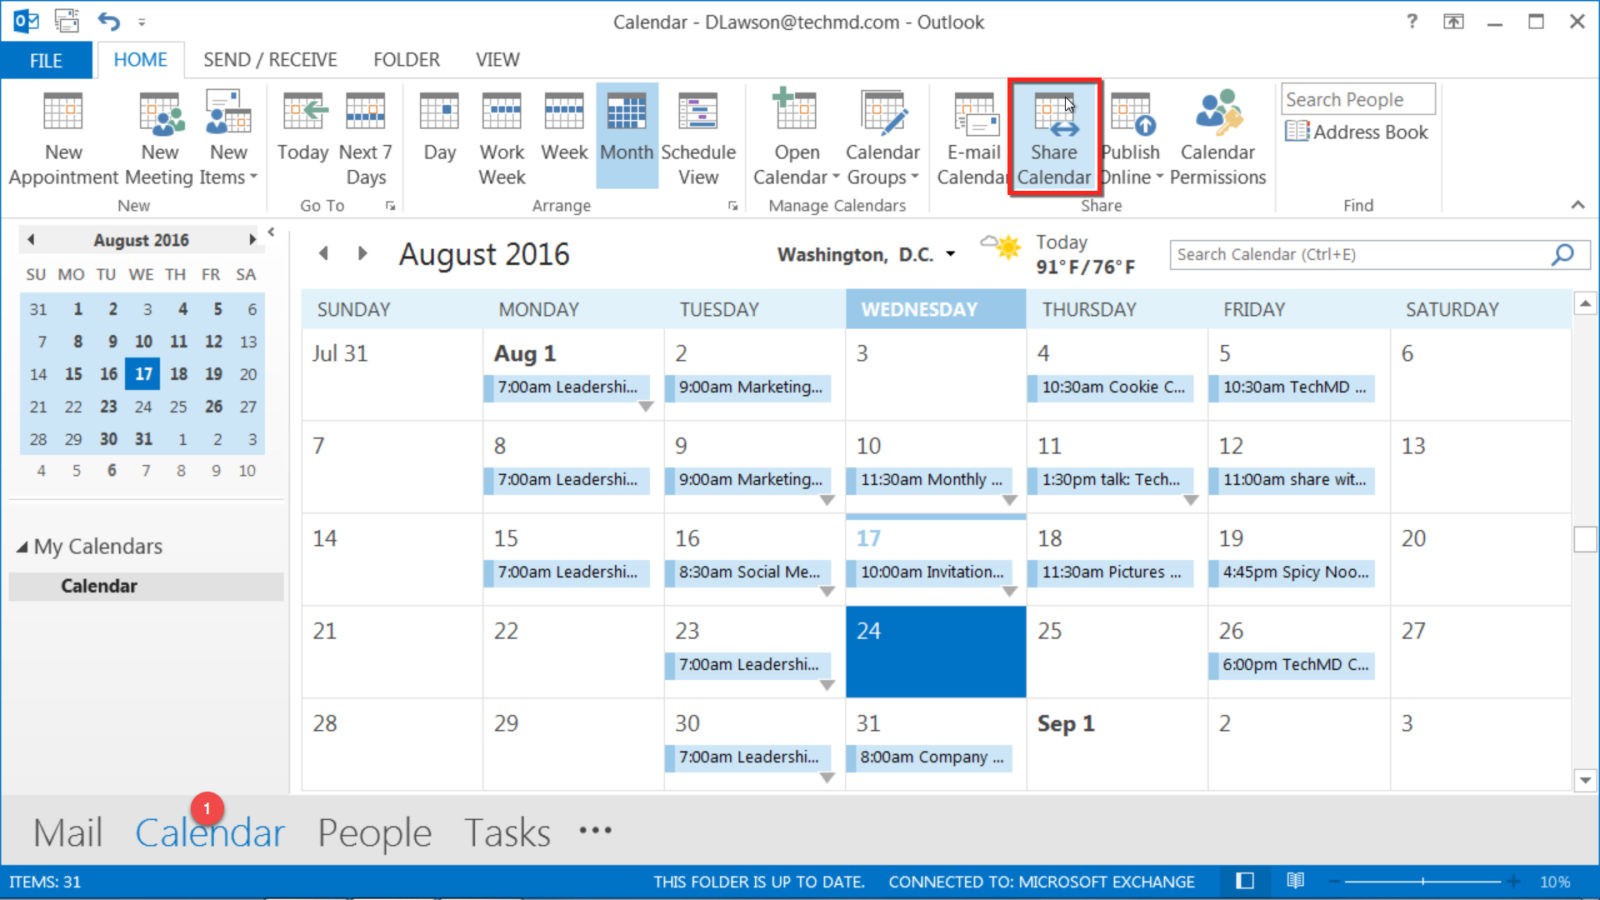
- Select the Calendar to Share: Right-click on the calendar you wish to share (your primary calendar or a secondary one).
- Choose "Share": Select the "Share" option from the context menu.
-
Specify Permissions: A "Share Calendar" dialog box will appear. Here, you can enter the email addresses of the people you want to share your calendar with. Choose the permission level:
- Can view availability: Only shows free/busy information.
- Can view details: Shows appointment details, including subjects and locations.
- Can make changes: Allows recipients to add, edit, and delete appointments.
- Add a Message (Optional): You can include a brief message explaining why you’re sharing the calendar.
- Send: Click "Send" to share the calendar with the specified individuals.
2. Sharing via Outlook Web App (OWA):
- Open your Calendar: Log into Outlook on the web (outlook.office.com) and navigate to your calendar.
- Select the Calendar to Share: Click on the calendar you want to share.
- Open the Sharing Options: Look for a "Share" button (usually near the top or bottom of the screen). The exact location may vary slightly depending on your Outlook version.
- Specify Permissions: Similar to the desktop application, you’ll be able to enter email addresses and choose permission levels (Can view availability, Can view details, Can make changes).
- Send: Click "Send" to share the calendar.
Managing Calendar Permissions:
Once you’ve shared your calendar, you can manage permissions at any time. In both the desktop application and OWA, you’ll find options to modify permissions, stop sharing with specific individuals, or completely remove sharing access. This flexibility is crucial for maintaining control over your calendar’s visibility.
Troubleshooting Common Issues:
- Recipient cannot see the calendar: Double-check that you’ve entered the correct email addresses and that the recipient has accepted the sharing invitation. They may need to add your calendar to their Outlook view.
- Permissions are incorrect: Verify that you’ve selected the appropriate permission level. You can always go back and adjust permissions as needed.
- Calendar not syncing: Ensure that both you and the recipient have a stable internet connection and that Outlook is properly configured for synchronization.
- Recipient is receiving error messages: Check for any network issues or problems with the Outlook servers. Contact your IT support if the problem persists.
Best Practices for Sharing Your Outlook Calendar:
- Be mindful of privacy: Only share information that you’re comfortable with others seeing. Consider creating separate calendars for personal and work appointments.
- Use descriptive calendar names: Make it easy for others to understand the purpose of your shared calendar.
- Regularly review permissions: Periodically check who has access to your calendar and adjust permissions as necessary.
- Communicate clearly: Inform recipients about the purpose of sharing your calendar and any expectations regarding its use.
- Utilize color-coding: Use different colors for different calendars or types of appointments to improve readability and organization.
- Consider using categories: Categorize your appointments to further enhance organization and filtering capabilities.
- Set up automatic responses (out-of-office): Inform others of your unavailability during periods of leave or absence.
Advanced Features and Considerations:
- Resource Calendars: For managing shared resources like conference rooms or equipment, Outlook allows you to create resource calendars. These calendars can be shared with others to easily book these resources.
- Calendar Folders: Organize your calendars into folders for better management, especially if you have multiple calendars.
- Calendar Groups: Group related calendars together for easier viewing and management.
- Integration with other applications: Outlook integrates with other applications and services, allowing for seamless calendar synchronization and scheduling.
Conclusion:
Sharing your Outlook calendar is a powerful tool for collaboration and efficient scheduling. By understanding the different sharing options, managing permissions effectively, and following best practices, you can significantly enhance your productivity and streamline communication with others. This guide provides a solid foundation for utilizing this feature to its full potential. Remember to always prioritize privacy and communicate clearly with those you share your calendar with to ensure a smooth and productive experience.

![How to Share Calendar in Outlook [Step-by-Step Guide 2024]](https://10pcg.com/wp-content/uploads/outlook-web-calendar-sharing-and-permissions.jpg)

:max_bytes(150000):strip_icc()/003-how-to-share-your-outlook-calendar-4ef5c8efc95c426ca885dc65559cd7c9.jpg)

:max_bytes(150000):strip_icc()/12-how-to-share-your-outlook-calendar-84f1a4031ae640b59bb8915db041803e.JPG)
Closure
Thus, we hope this article has provided valuable insights into Sharing Your Outlook Calendar: A Comprehensive Guide. We appreciate your attention to our article. See you in our next article!