Mastering the Google Sheets Calendar: A Comprehensive Guide
Related Articles: Mastering the Google Sheets Calendar: A Comprehensive Guide
Introduction
With enthusiasm, let’s navigate through the intriguing topic related to Mastering the Google Sheets Calendar: A Comprehensive Guide. Let’s weave interesting information and offer fresh perspectives to the readers.
Table of Content
Mastering the Google Sheets Calendar: A Comprehensive Guide

Google Sheets, while primarily a spreadsheet program, offers surprisingly robust capabilities for creating custom calendars. While it doesn’t possess the visual flair of dedicated calendar applications like Google Calendar, its flexibility allows for the creation of highly customized calendars tailored to specific needs. This article will guide you through building various types of Google Sheets calendars, from simple monthly views to complex project trackers, equipping you with the knowledge to harness the power of spreadsheets for your scheduling needs.
Part 1: Building a Basic Monthly Calendar
The foundation of any Google Sheets calendar is a well-structured data layout. We’ll begin with a simple monthly calendar, then expand upon it in later sections.
1. Setting up the Header:
- Column A: This column will hold the days of the week. In cell A1, type "Sunday". In subsequent cells (A2:A7), type "Monday", "Tuesday", "Wednesday", "Thursday", "Friday", and "Saturday". You can customize the starting day if needed.
- Row 1 (from Column B onwards): This row will represent the weeks. Leave cell B1 blank for now. In cell C1, type "Week 1", in D1 "Week 2", and so on, adjusting the number of weeks based on the month’s length.
2. Populating the Dates:
This is where we leverage Google Sheets’ formulas. The core formula uses the DATE function, which requires the year, month, and day as inputs.
-
First Day of the Month: In cell B2, enter the following formula, replacing
YYYYwith the year andMMwith the month (e.g., for January 2024, use=DATE(2024,1,1)). This formula calculates the date of the first day of the month. -
Subsequent Dates: In cell B3, enter
=IF(ISBLANK(B2),"",B2+1). This formula checks if the cell above is blank; if it is, it leaves the cell blank. Otherwise, it adds 1 to the date above, effectively incrementing the date. Copy this formula down and across to fill the entire calendar grid. You’ll need to adjust the number of rows to accommodate the length of the month. For example, February might need fewer rows than December.
3. Formatting:
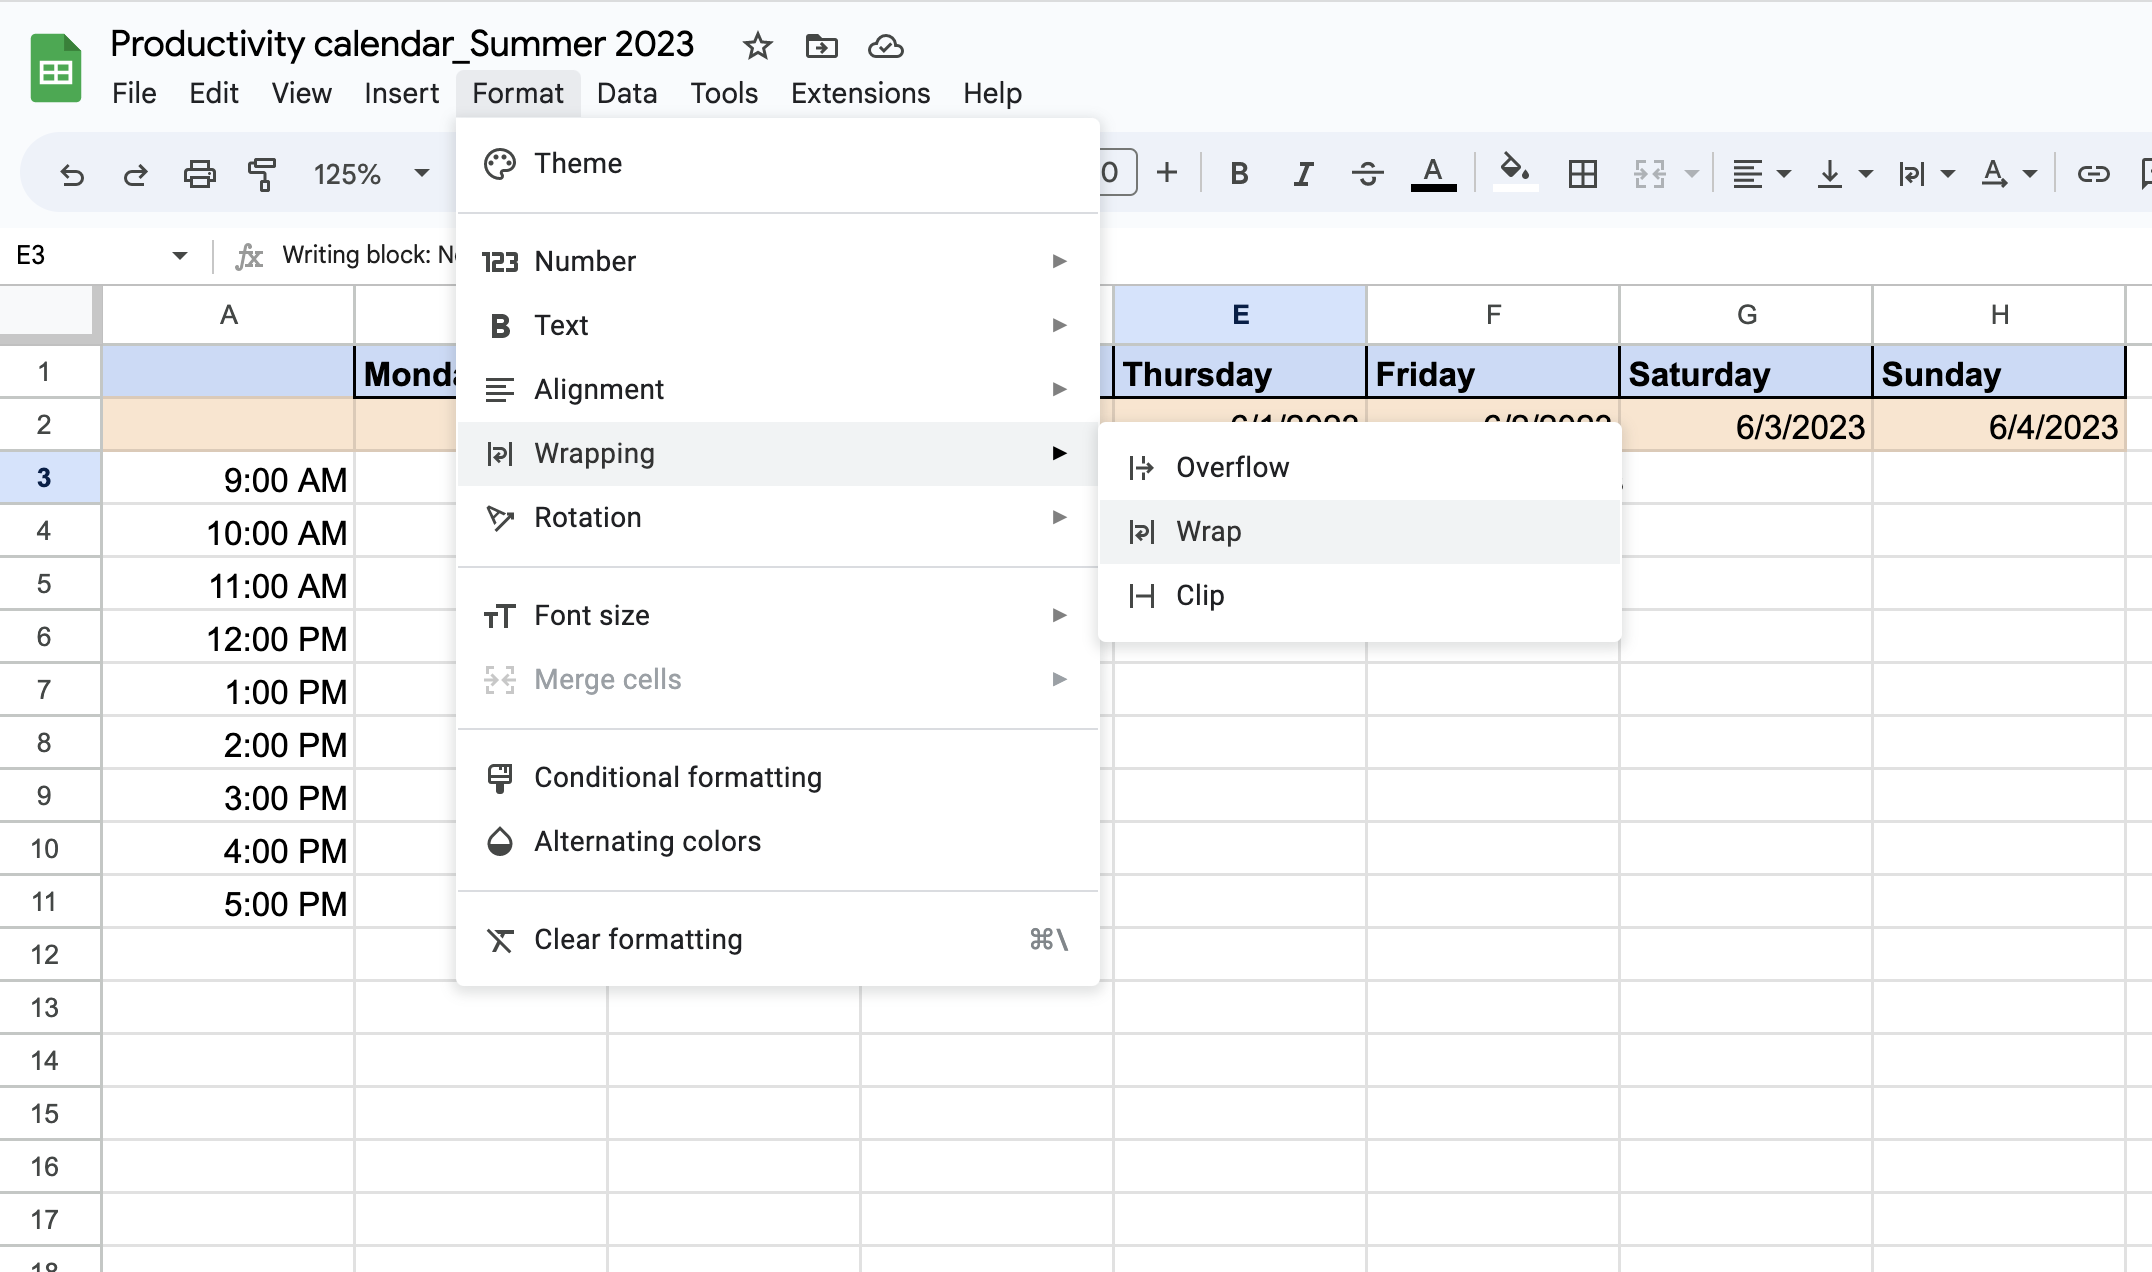
- Date Formatting: Select all the cells containing dates (B2 onwards) and go to "Format" > "Number" > "Date". Choose a date format that suits your preference.
- Week Numbering: For cleaner presentation, consider conditionally formatting the week numbers. Select the range containing the week numbers (Row 1) and go to "Format" > "Conditional formatting". Set the formatting rules to highlight weekends differently (e.g., using different colors or bolding).
- Borders and Shading: Add borders and shading to enhance readability. Experiment with different border styles and colors to create a visually appealing calendar.
Part 2: Advanced Calendar Features
The basic calendar is a starting point. Let’s explore ways to enhance its functionality:
1. Dynamic Month Selection:
Instead of manually changing the DATE formula for each month, create a cell where you can input the year and month. Let’s say you input the year in cell E1 and the month in cell F1. Modify the formula in B2 to:
=DATE(E1,F1,1)
Now, changing the values in E1 and F1 automatically updates the entire calendar.
2. Event Integration:
Add a column (e.g., Column I) for events. You can manually input events, or use data validation to create a dropdown list of pre-defined events. Conditional formatting can highlight cells with events.
3. Task Management Integration:
Extend the event column to include task details, deadlines, and statuses. Use checkboxes to mark tasks as complete. You can use formulas to calculate the number of completed tasks or overdue tasks.
4. Multiple Calendars on One Sheet:
Create multiple calendar sections on a single sheet by replicating the structure described above. Use different colors or formatting to distinguish between calendars. This is useful for managing multiple projects or family schedules.
5. Visualizing Data with Charts:
If your calendar integrates with data, use charts to visualize trends. For example, if you track sales, you can create a chart showing sales performance throughout the month.
Part 3: Building Specialized Calendars
Google Sheets’ flexibility allows you to create calendars tailored to specific needs:
1. Project Timeline Calendar:
Create a calendar visualizing project timelines. Use columns to represent tasks, rows to represent weeks or days, and color-coding to indicate task progress or dependencies.
2. Shift Calendar:
For managing employee shifts, create a calendar with rows representing employees and columns representing days. Use color-coding to indicate different shift types.
3. Appointment Calendar:
Create a calendar for scheduling appointments. Use columns for time slots and rows for dates. You can use data validation to prevent double-booking.
4. Content Calendar:
For content creators, create a calendar to plan social media posts, blog articles, or email newsletters. Include columns for content type, topic, and publication date.
Part 4: Tips and Troubleshooting
- Data Validation: Use data validation to restrict input and prevent errors. For example, you can restrict the month input to numbers between 1 and 12.
- Freezing Panes: Freeze the header row and column to keep them visible while scrolling.
- Named Ranges: Use named ranges to make formulas more readable and easier to manage.
-
Error Handling: Use error handling functions like
IFERRORto prevent errors from disrupting your calendar. - Sheet Protection: Protect your sheet to prevent accidental modifications.
Creating a custom calendar in Google Sheets is a powerful way to manage your time and projects. By combining the basic structure with advanced features and tailoring it to your specific needs, you can create a highly functional and personalized scheduling tool. Remember to experiment, explore the various features of Google Sheets, and adapt the techniques described above to build the perfect calendar for your unique requirements. The possibilities are virtually limitless.
%20Make%20Intuitive%20Calendars%20in%20Google%20Sheets.png)


Closure
Thus, we hope this article has provided valuable insights into Mastering the Google Sheets Calendar: A Comprehensive Guide. We hope you find this article informative and beneficial. See you in our next article!