Mastering the Calendar Integration in Google Docs: A Comprehensive Guide
Related Articles: Mastering the Calendar Integration in Google Docs: A Comprehensive Guide
Introduction
In this auspicious occasion, we are delighted to delve into the intriguing topic related to Mastering the Calendar Integration in Google Docs: A Comprehensive Guide. Let’s weave interesting information and offer fresh perspectives to the readers.
Table of Content
Mastering the Calendar Integration in Google Docs: A Comprehensive Guide

Google Docs, a cornerstone of the Google Workspace suite, offers a surprisingly robust environment for document creation and collaboration. While not inherently a calendar application, its ability to seamlessly integrate external calendars and display calendar data within your documents significantly enhances its functionality. This comprehensive guide will explore various methods of inserting and managing calendars in Google Docs, catering to both novice and experienced users. We’ll delve into the nuances of each technique, offering practical tips and troubleshooting advice to ensure a smooth and efficient workflow.
Understanding the Limitations and Possibilities
Before we begin, it’s crucial to understand that Google Docs doesn’t possess a built-in calendar feature allowing for direct calendar editing within the document. Instead, we leverage Google’s interconnected services and third-party integrations to achieve calendar insertion. This means you can’t directly create or modify calendar events within the Doc itself. The calendar elements you insert are essentially static snapshots of your calendar data at a specific point in time. Any changes made to your actual calendar will not automatically update within the Google Doc.
Despite this limitation, the ability to incorporate calendar information into your documents provides substantial advantages:
- Visual Representation of Schedules: Easily visualize important deadlines, meetings, and appointments within your document, providing context and clarity.
- Enhanced Project Management: Integrate project timelines and milestones directly into project proposals or reports.
- Improved Communication: Share schedules with colleagues and clients without requiring them to access separate calendar applications.
- Streamlined Reporting: Include relevant calendar data in reports, presentations, and other documents.
Method 1: Screenshot and Image Insertion (Simplest Method)
This is the most straightforward method, suitable for simple calendar visualization. It involves taking a screenshot of your desired calendar view (day, week, month) and inserting it as an image into your Google Doc.
Steps:
- Open your Google Calendar: Navigate to your Google Calendar and display the view you wish to include in your document (day, week, month, agenda).
- Take a Screenshot: Use your operating system’s built-in screenshot functionality (Print Screen key, Snipping Tool, etc.) to capture the desired calendar portion.
- Save the Screenshot: Save the screenshot as an image file (e.g., PNG or JPG).
- Insert into Google Docs: Open your Google Doc, click on "Insert" > "Image" > "Upload from computer," and select your saved screenshot.
- Adjust Size and Position: Resize and reposition the image to fit your document’s layout.
Advantages: Simple, quick, and readily accessible.
Disadvantages: Static image; no live updates; potential for image quality issues; less flexible for specific date ranges.
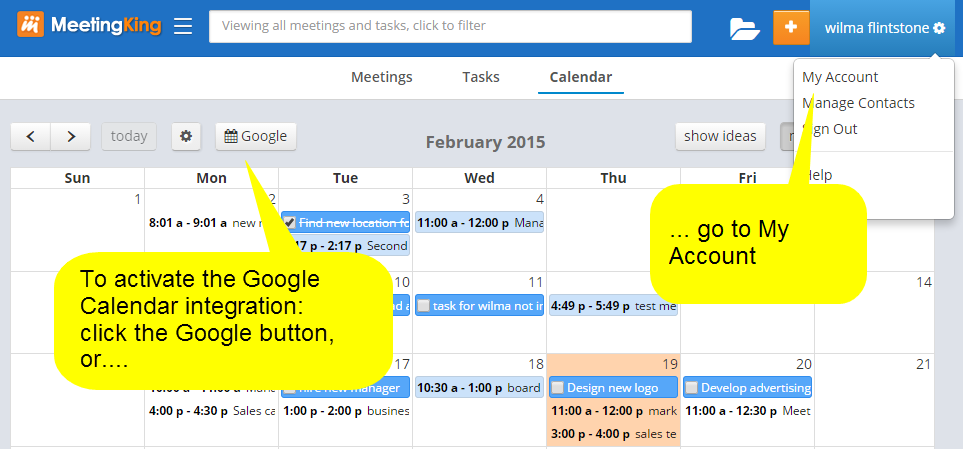
Method 2: Google Calendar Embed (For Dynamic Updates – Requires Specific Permissions)
While not directly embedding a calendar into the document in an editable way, you can embed a Google Calendar view using an iFrame. This allows for dynamic updates, but with limitations.
Steps:
- Access your Google Calendar: Open your Google Calendar and navigate to the calendar you want to embed.
- Get the Embed Code: Click on the three vertical dots (more options) in the upper right corner of your calendar view. Select "Settings and sharing." Go to the "Integrate calendar" section. You will find the embed code there.
- Copy the Embed Code: Copy the provided HTML embed code.
- Insert into Google Docs: In your Google Doc, click "Insert" > "HTML." Paste the embed code into the HTML box and click "OK."
Advantages: Dynamic updates (if the calendar is publicly accessible or you grant appropriate permissions); more visually appealing than screenshots.
Disadvantages: Requires understanding of HTML and sharing permissions; may not be suitable for all calendar privacy settings; the embedded calendar might not always perfectly integrate with the document’s formatting.
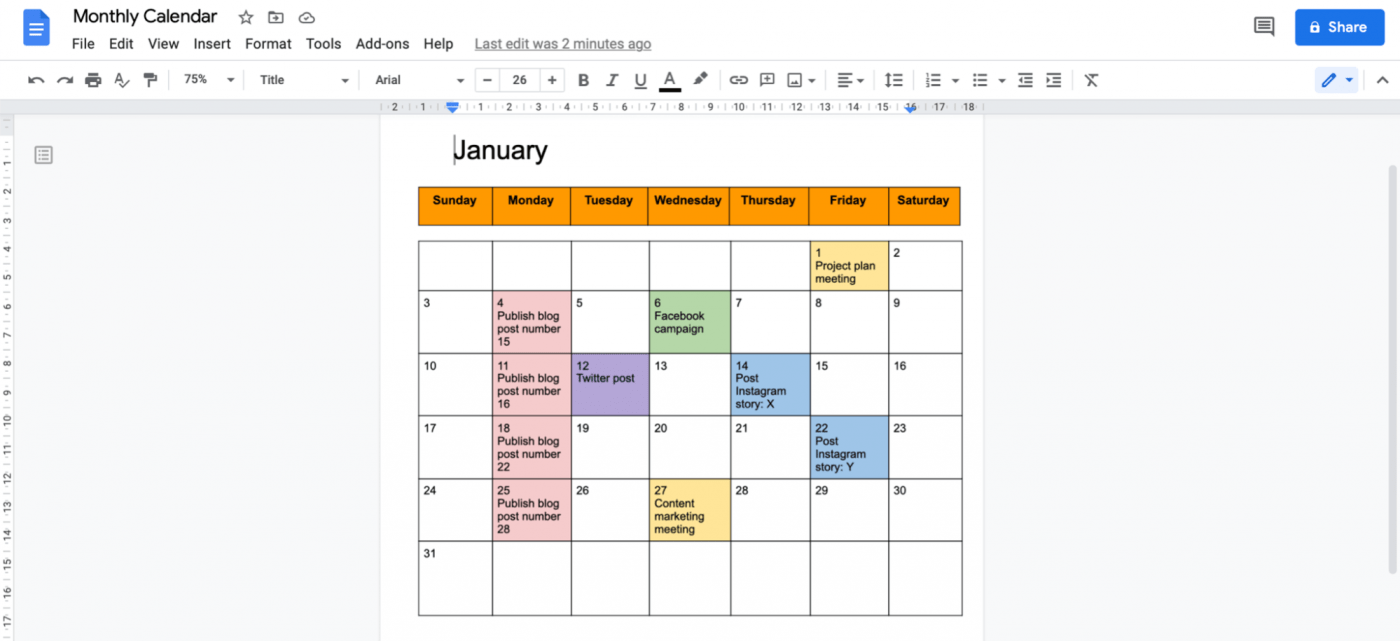
Method 3: Using a Table to Manually Create a Calendar (For Simple Calendars)
For very basic calendars or specific date ranges, manually creating a table in Google Docs can be an effective method.
Steps:
- Create a Table: Insert a table with the appropriate number of rows and columns to represent the days and weeks of your desired calendar.
- Format the Table: Adjust cell sizes, borders, and fonts to create a calendar-like appearance.
- Add Dates and Events: Manually enter the dates and relevant events into the table cells.
Advantages: Full control over formatting and content; works offline.
Disadvantages: Time-consuming; not suitable for large or complex calendars; no dynamic updates.
Method 4: Third-Party Add-ons (For Advanced Functionality)
Several third-party add-ons enhance Google Docs’ calendar integration capabilities. These add-ons often provide features beyond the basic methods described above. However, always vet add-ons carefully before installation, checking reviews and permissions requested.
Steps (General):
- Access the Add-ons Menu: In Google Docs, click on "Add-ons" > "Get add-ons."
- Search for Calendar Add-ons: Search for add-ons that offer calendar integration functionality.
- Install and Authorize: Install the chosen add-on and grant the necessary permissions.
- Follow Add-on Instructions: Each add-on will have its own specific instructions for usage.
Troubleshooting Common Issues:
- Image Quality: If your screenshot is blurry, ensure you are using a high-resolution capture setting.
- Embed Issues: If your embedded calendar doesn’t appear, double-check the embed code and ensure the calendar’s sharing settings allow embedding.
- Add-on Problems: If an add-on isn’t working, check for updates, review its support documentation, or contact the developer.
- Formatting Conflicts: Experiment with different formatting options to ensure the calendar element integrates seamlessly with your document’s design.
Choosing the Right Method:
The optimal method for inserting a calendar into your Google Doc depends on your specific needs and technical proficiency.
- Screenshot: Ideal for simple, static representations.
- Google Calendar Embed: Best for dynamic updates but requires specific permissions and understanding of embedding.
- Manual Table: Suitable for very small, simple calendars.
- Third-Party Add-ons: Offer advanced features but require careful selection and authorization.
By carefully considering these methods and troubleshooting tips, you can effectively integrate calendar data into your Google Docs, enhancing the clarity, organization, and overall effectiveness of your documents. Remember that while Google Docs doesn’t natively support calendar editing, leveraging these strategies allows for a powerful and versatile approach to incorporating scheduling information into your workflow.


Closure
Thus, we hope this article has provided valuable insights into Mastering the Calendar Integration in Google Docs: A Comprehensive Guide. We appreciate your attention to our article. See you in our next article!