Mastering the Calendar in PowerPoint: A Comprehensive Guide
Related Articles: Mastering the Calendar in PowerPoint: A Comprehensive Guide
Introduction
In this auspicious occasion, we are delighted to delve into the intriguing topic related to Mastering the Calendar in PowerPoint: A Comprehensive Guide. Let’s weave interesting information and offer fresh perspectives to the readers.
Table of Content
Mastering the Calendar in PowerPoint: A Comprehensive Guide
PowerPoint presentations often benefit from visual aids that enhance understanding and engagement. Calendars, specifically, are invaluable for showcasing timelines, deadlines, project schedules, and event planning. While PowerPoint doesn’t offer a dedicated "Insert Calendar" button like some word processors, integrating a calendar is achievable through various methods, each offering different levels of customization and functionality. This comprehensive guide will explore these methods, offering step-by-step instructions and addressing common challenges.
Method 1: Utilizing SmartArt Graphics for Simple Calendars
For basic calendar representations, PowerPoint’s SmartArt graphics provide a quick and easy solution. This method is ideal for visualizing simple schedules or highlighting key dates without intricate detail.
Steps:
-
Navigate to the "Insert" Tab: Open your PowerPoint presentation and locate the "Insert" tab at the top of the ribbon.
-
Select "SmartArt": In the "Illustrations" group, click on the "SmartArt" button.
-
Choose a Calendar Graphic: The SmartArt gallery will appear. Browse through the various categories, focusing on "List" or "Process" options. You’ll find several layouts that can be adapted to resemble a calendar. Look for options with numbered or bulleted lists that can represent days, weeks, or months. The "List" category’s "Vertical List" or "Horizontal List" are good starting points.
-
Customize the Calendar: Once you’ve selected a layout, a SmartArt graphic will appear on your slide. Double-click on each text placeholder to input your dates or events. You can customize the appearance further by changing the font, color, and style of the text.
-
Adjust the Layout: You might need to manually adjust the layout to better resemble a calendar. You can drag and resize the shapes to create a grid-like structure. Experiment with different SmartArt layouts to find one that best fits your needs. Consider using different colors or shading to highlight specific dates or events.
Limitations: This method lacks the granular detail of a full-fledged calendar. It’s best suited for simple representations and doesn’t offer features like month selection or automatic date generation.
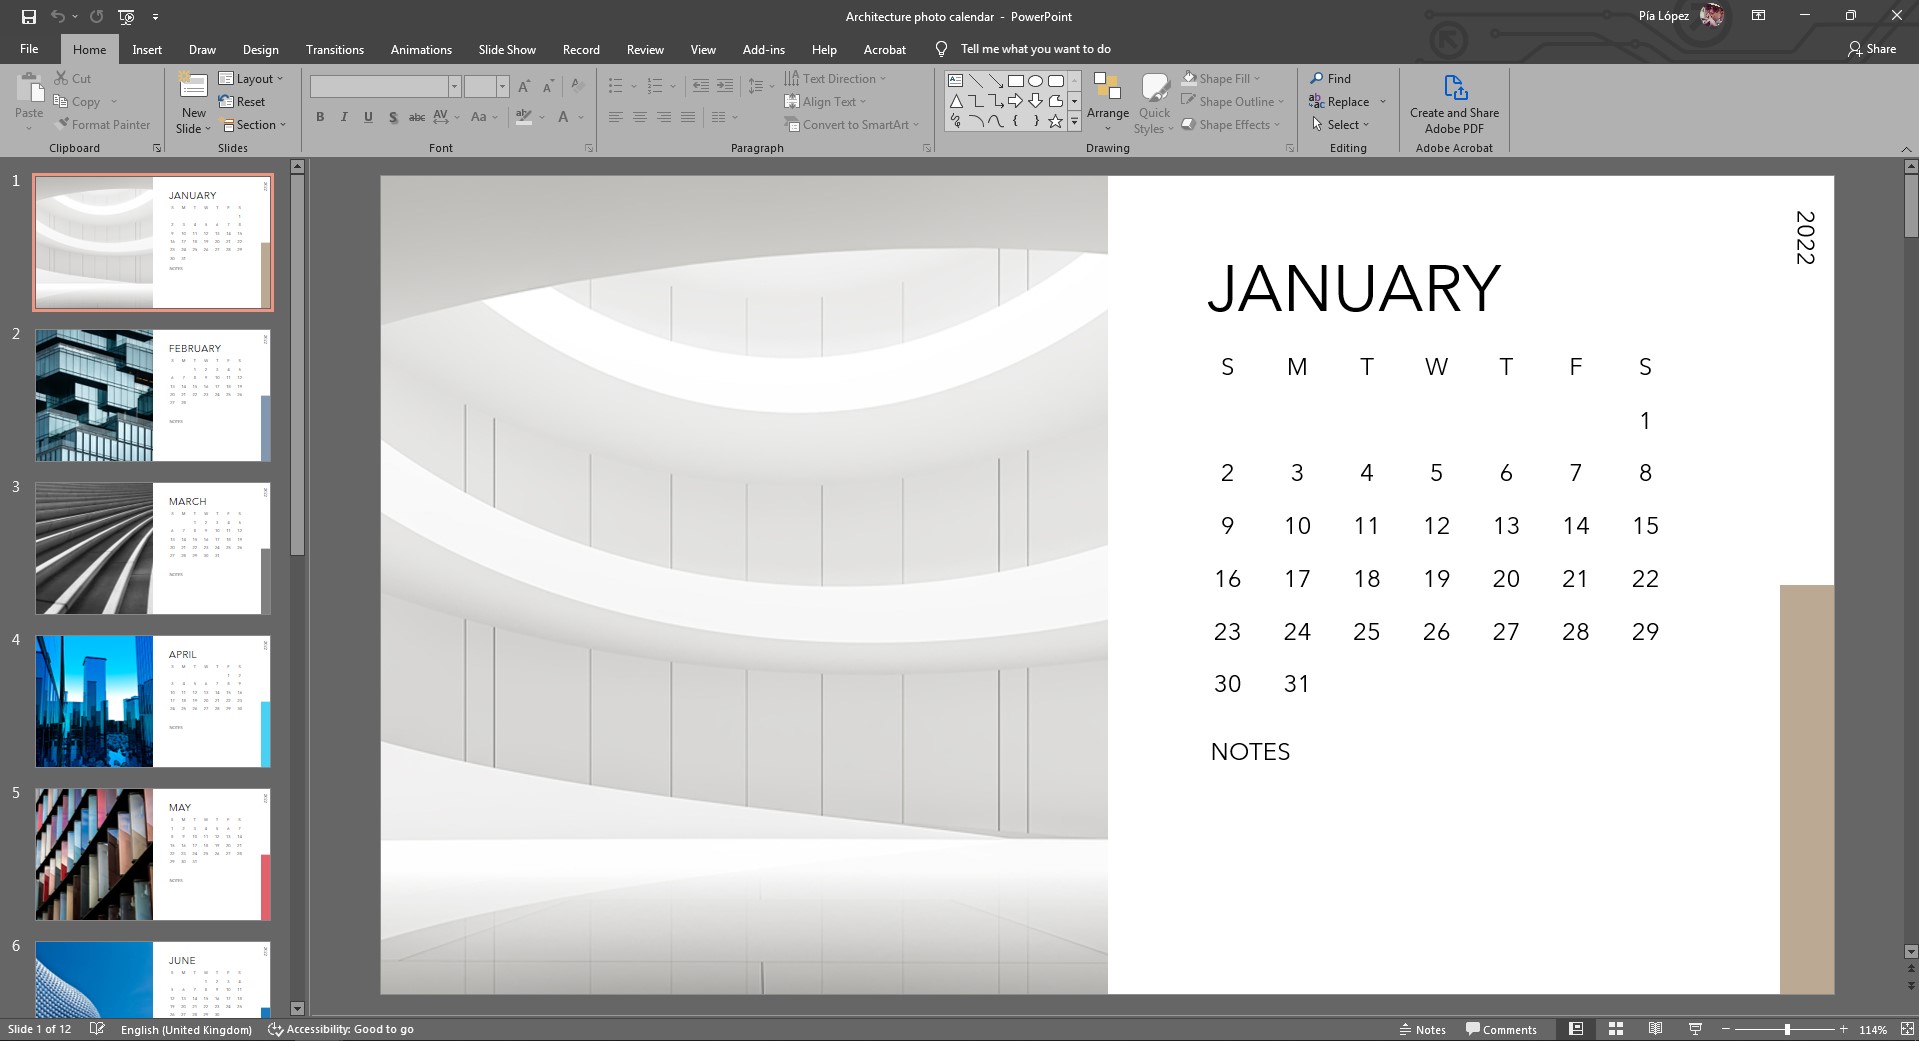
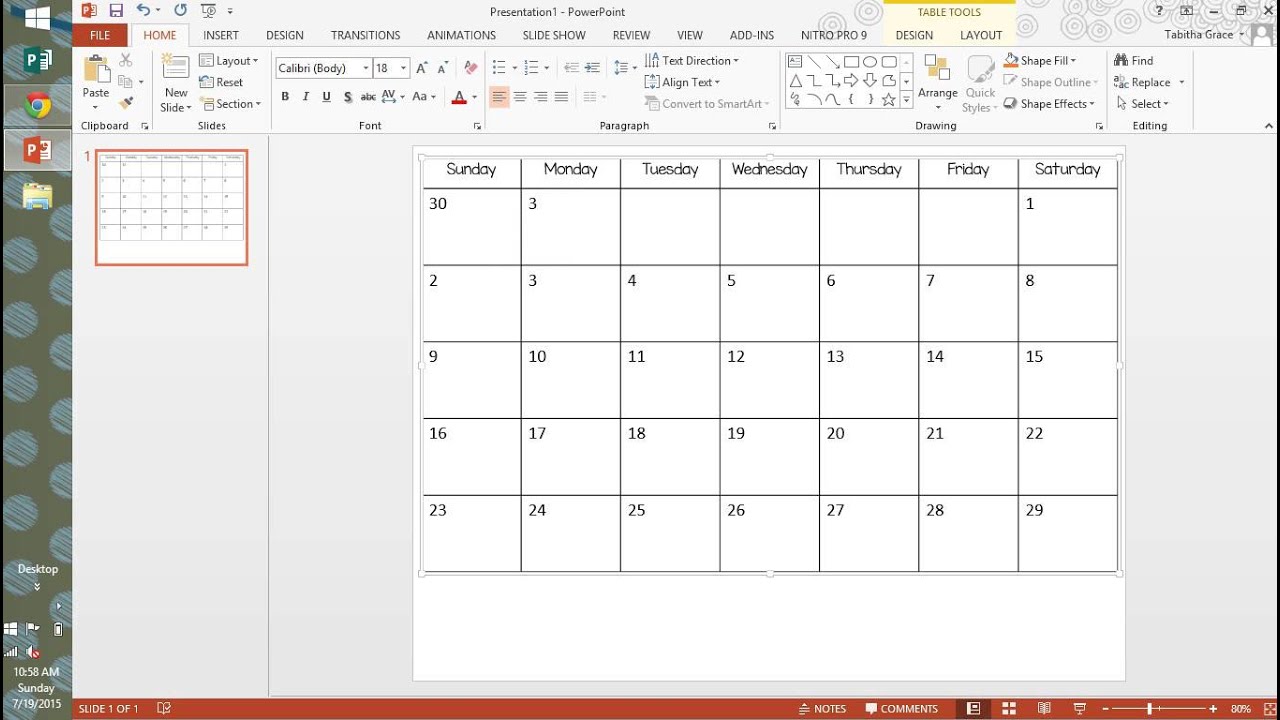
Method 2: Leveraging Excel for Detailed Calendars
For more detailed and customizable calendars, integrating an Excel spreadsheet is a powerful approach. Excel allows for complex calendar designs, automatic date generation, and easy data manipulation.
Steps:
-
Create an Excel Calendar: Open a new Excel workbook. Use formulas to automatically generate dates (e.g., using the
DATEfunction and dragging down to fill the cells). Format the cells to create a calendar grid. You can use conditional formatting to highlight weekends or specific dates. Experiment with different cell styles and borders to enhance the visual appeal. -
Copy the Excel Calendar: Once your Excel calendar is complete, select the entire calendar range. Copy it (Ctrl+C or Cmd+C).
-
Paste into PowerPoint: Switch back to your PowerPoint presentation and paste the Excel data into the slide (Ctrl+V or Cmd+V). Choose "Paste Special" and select "Microsoft Excel Worksheet Object" to maintain the spreadsheet’s functionality.
-
Adjust Sizing and Formatting: Resize the pasted Excel calendar to fit your slide. You can adjust the cell formatting within PowerPoint, if needed. Remember to check that the pasted calendar maintains its functionality; you should be able to edit dates and formulas within the PowerPoint slide.
Advantages: This method provides excellent flexibility and allows for complex calendar structures. You can easily update the calendar in Excel, and the changes will reflect in your PowerPoint presentation.
Disadvantages: This method can be more time-consuming to set up initially. The calendar might require more space on the slide compared to other methods.
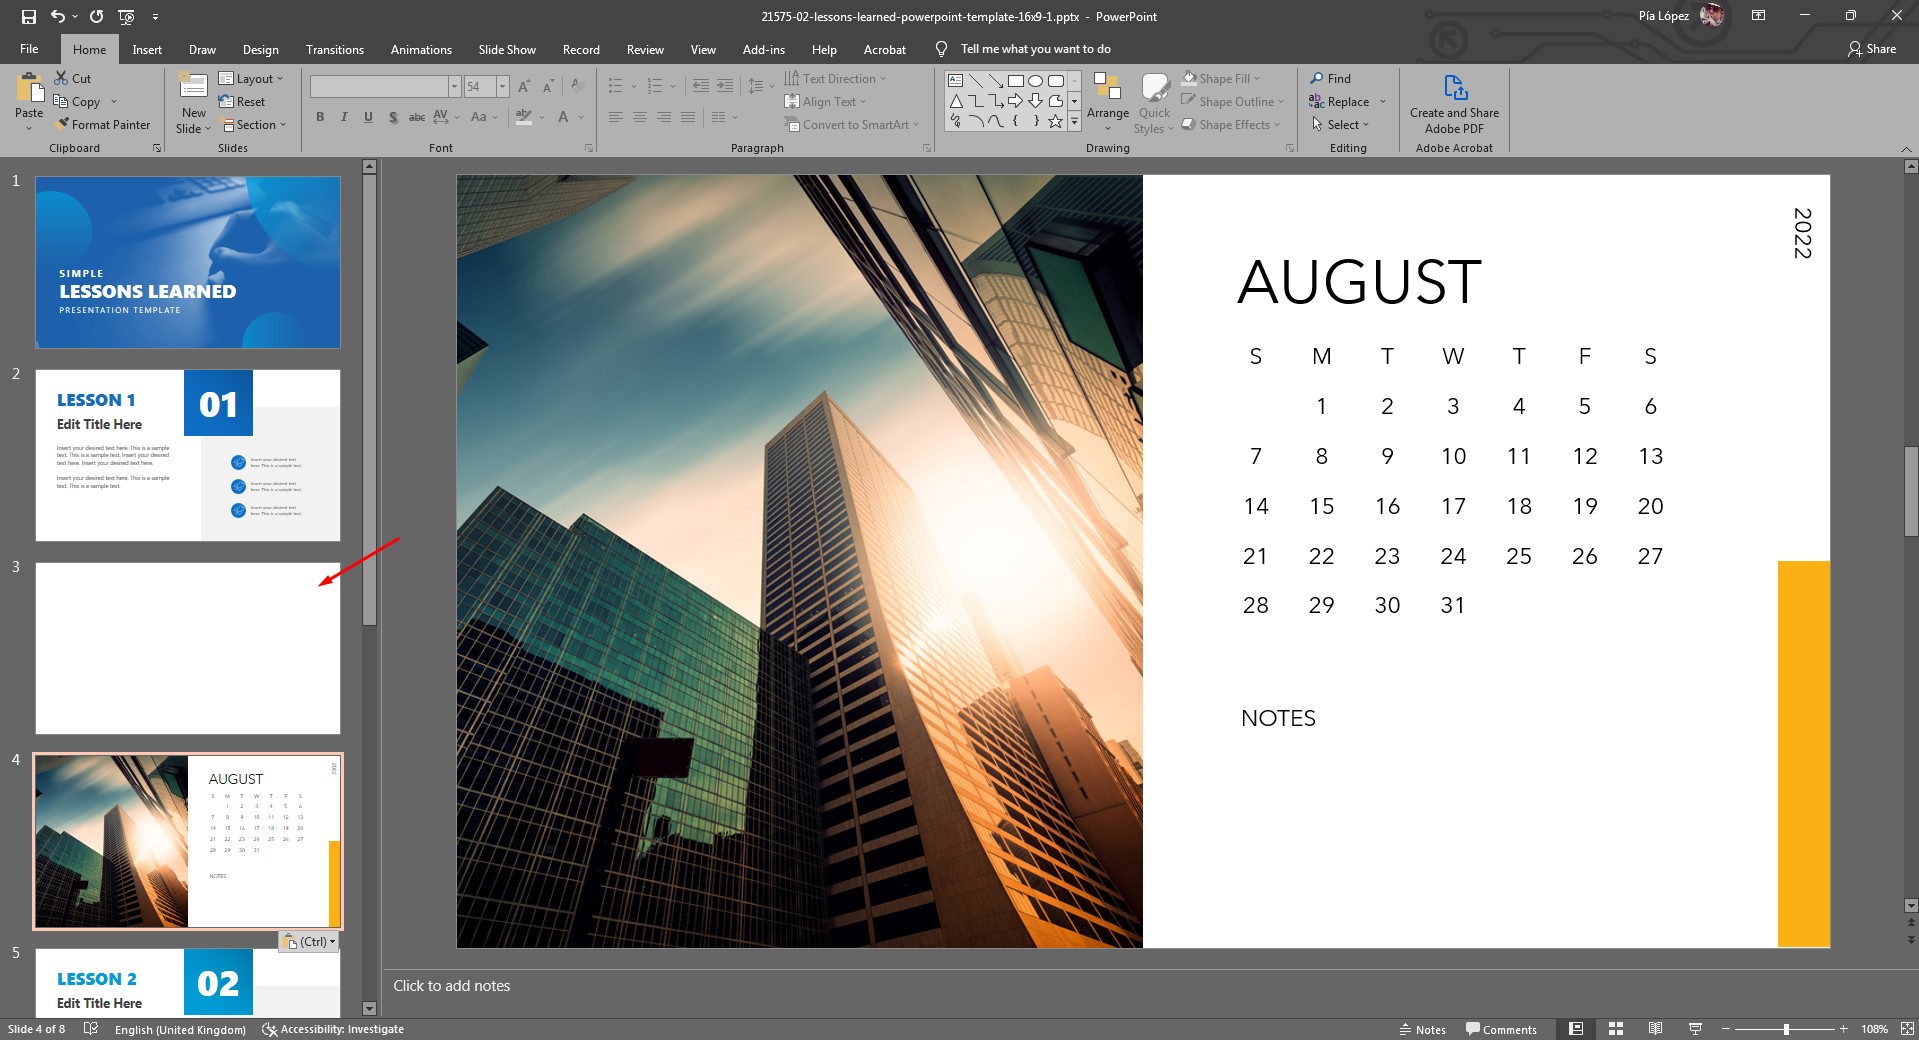
Method 3: Inserting a Screenshot of a Digital Calendar
This method is the simplest for quickly adding a calendar to your presentation, especially if you already have a digital calendar (like Google Calendar or Outlook Calendar) with the desired view.
Steps:
-
Open your Digital Calendar: Access your preferred online or desktop calendar application. Navigate to the month or period you want to display.
-
Take a Screenshot: Use your operating system’s screenshot functionality (e.g., Print Screen key, Snipping Tool) to capture an image of the calendar.
-
Insert the Screenshot into PowerPoint: In PowerPoint, go to the "Insert" tab and select "Pictures." Browse to the location where you saved your screenshot and insert it into your slide.
-
Resize and Position: Adjust the size and position of the screenshot to fit your presentation’s layout.
Advantages: This method is extremely fast and requires minimal technical skills. It’s perfect for quickly adding a visual representation of a calendar without extensive customization.
Disadvantages: The calendar is a static image; you cannot interact with it or update it within PowerPoint. The quality of the screenshot depends on your screen resolution.
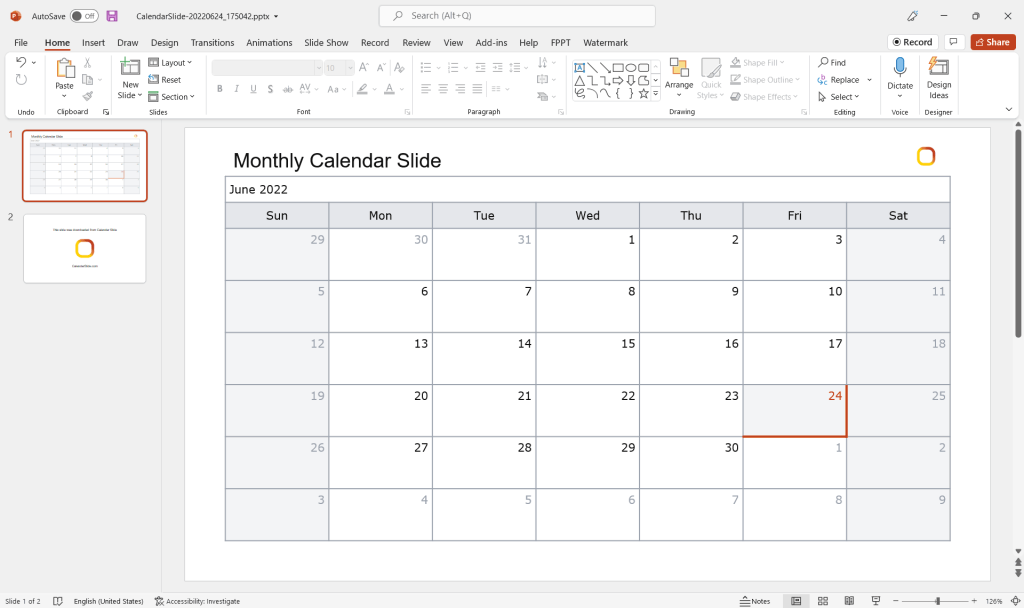
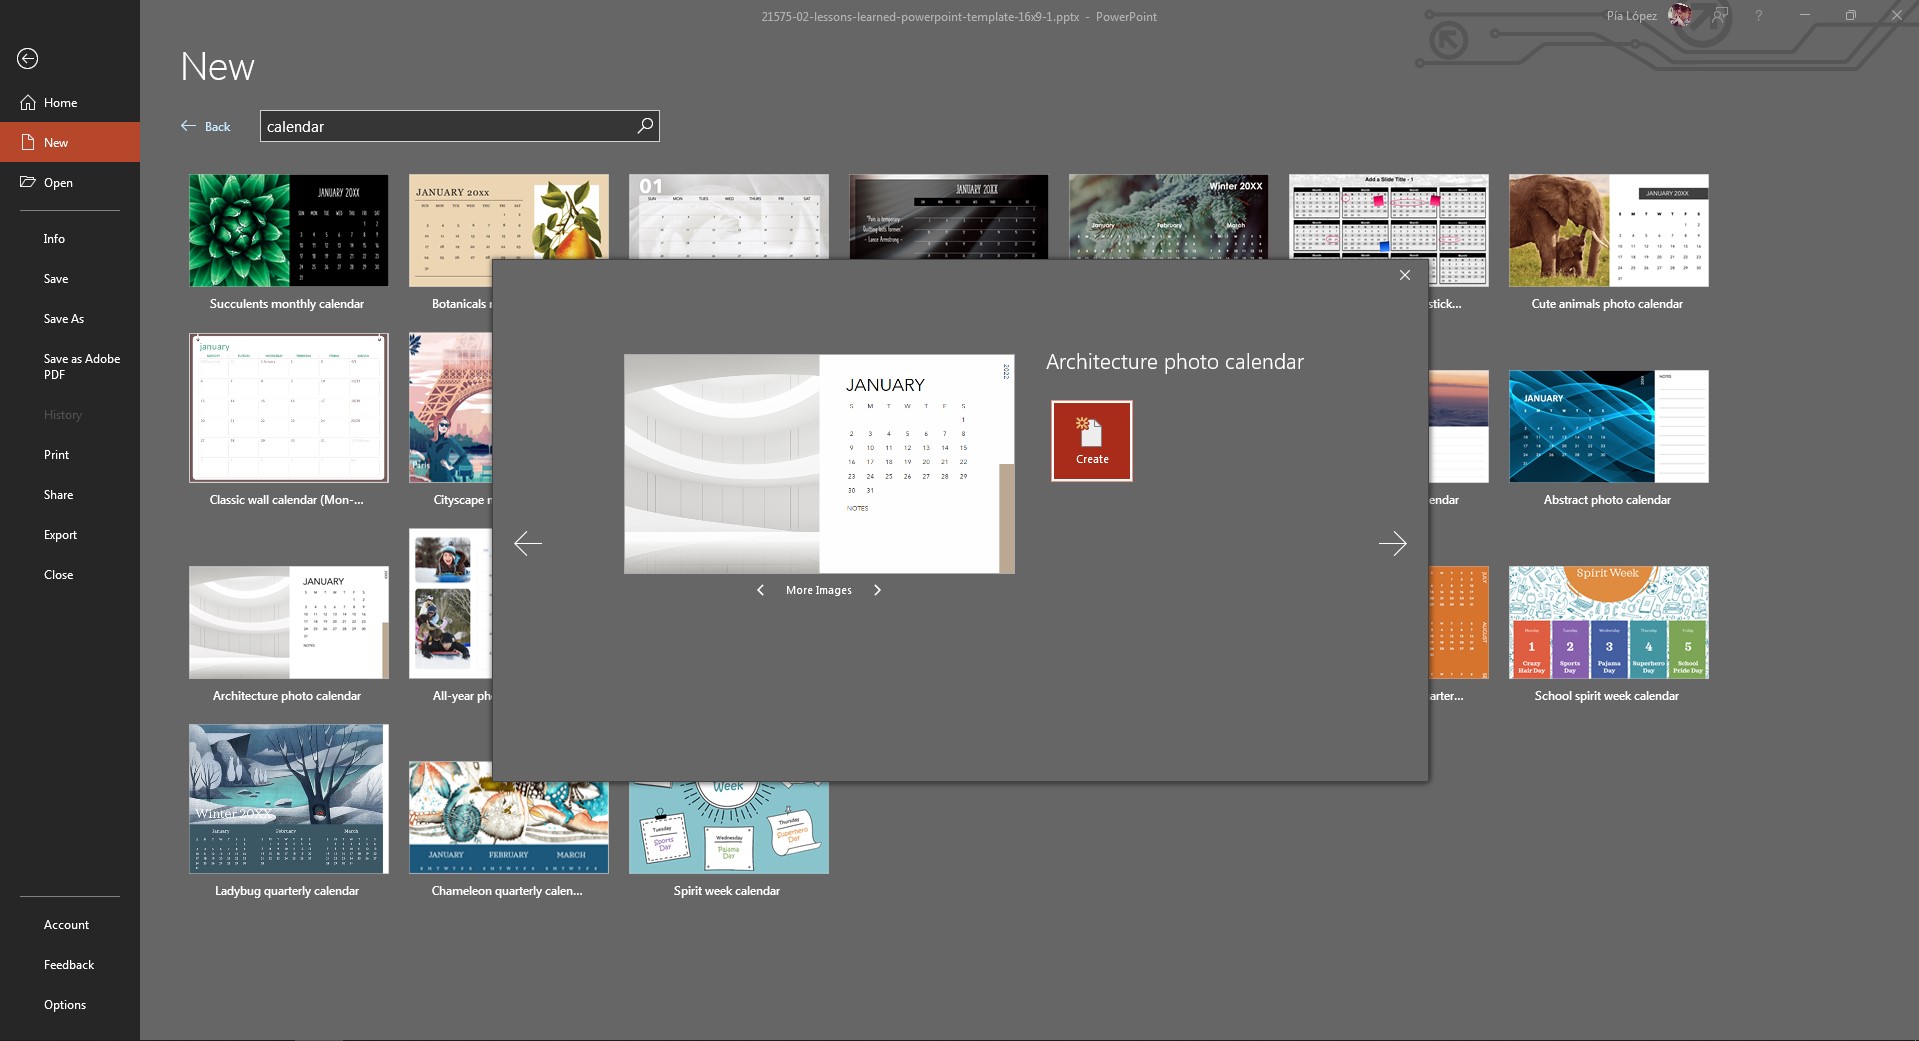
Method 4: Utilizing Online Calendar Generators and Images
Numerous websites offer free calendar templates and generators. These tools allow you to customize various aspects, like year, month, and overall design.
Steps:
-
Find a Calendar Generator: Search online for "free printable calendar templates" or "online calendar generators." Many websites offer customizable options.
-
Customize the Calendar: Select a template and customize it according to your needs. Choose the year, month, and any specific design elements. Some generators allow you to add events or highlights.
-
Download and Insert: Download the generated calendar image (usually as a JPG or PNG file). In PowerPoint, go to the "Insert" tab and select "Pictures" to insert the downloaded image.
-
Adjust the Image: Resize and position the calendar image on your slide.
Advantages: This method offers a wide variety of designs and customization options. It’s a good compromise between simplicity and visual appeal.
Disadvantages: The calendar is a static image, limiting interactivity. The availability and quality of free templates might vary.
Choosing the Right Method:
The best method for inserting a calendar into your PowerPoint presentation depends on your specific needs and technical skills.
- For simple visual representation: SmartArt graphics are a quick and easy solution.
- For detailed, interactive calendars: Integrating an Excel spreadsheet provides the most flexibility.
- For a quick visual representation of an existing calendar: Taking a screenshot is the fastest method.
- For a visually appealing, customizable static calendar: Using online calendar generators offers a good balance between ease of use and design flexibility.
Advanced Tips and Considerations:
- Maintain Consistency: Ensure the calendar’s design and style are consistent with the overall theme of your presentation.
- Accessibility: Use sufficient font sizes and color contrast to ensure readability for all audience members.
- Data Integrity: When using Excel, regularly save your workbook to avoid data loss.
- Image Resolution: Use high-resolution images for better visual quality, especially when projecting on a large screen.
- Animation and Transitions: Consider using subtle animations or transitions to draw attention to specific dates or events on your calendar.
By understanding these various methods and applying the tips provided, you can effectively integrate calendars into your PowerPoint presentations, significantly enhancing their clarity and impact. Remember to choose the method that best aligns with your presentation’s goals and your comfort level with different software tools. Experiment with different approaches to find the perfect fit for your specific needs.


Closure
Thus, we hope this article has provided valuable insights into Mastering the Calendar in PowerPoint: A Comprehensive Guide. We thank you for taking the time to read this article. See you in our next article!