Mastering the Art of Excel Calendars: From Basic to Beautiful
Related Articles: Mastering the Art of Excel Calendars: From Basic to Beautiful
Introduction
With enthusiasm, let’s navigate through the intriguing topic related to Mastering the Art of Excel Calendars: From Basic to Beautiful. Let’s weave interesting information and offer fresh perspectives to the readers.
Table of Content
Mastering the Art of Excel Calendars: From Basic to Beautiful
Microsoft Excel, often associated with spreadsheets and financial modeling, offers surprising versatility for creating customized calendars. Whether you need a simple monthly view for personal planning or an intricate yearly calendar for project management, Excel provides the tools to build it. This comprehensive guide will walk you through creating various types of Excel calendars, from basic layouts to advanced designs incorporating features like holidays, appointments, and color-coding.
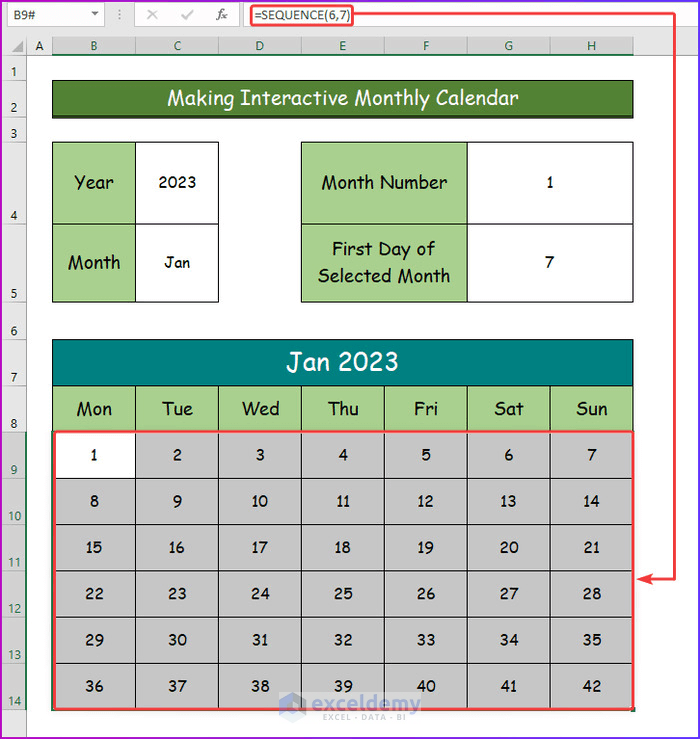
Part 1: Building a Basic Monthly Calendar
The foundation of any Excel calendar is a well-structured monthly view. Here’s how to create a simple one:
-
Setting up the Grid: Begin by creating a 7-column, 6-row grid. This represents the seven days of the week and the maximum number of weeks in a month. Select the cells and merge the top row cells (A1:G1) to create a header for the month and year. Type in the month and year (e.g., "October 2024").
-
Day Headers: In cells A2 to G2, enter the abbreviations for the days of the week (Sun, Mon, Tue, Wed, Thu, Fri, Sat). You can customize the formatting (bold, font size, alignment) to improve readability.
-
Numbering the Days: This is where things get slightly more complex. You’ll need to determine the starting day of the month. You can use the
DAYandWEEKDAYfunctions for this. For example, if you want to determine the day of the week for October 1st, 2024, use the following formula in cell A3:=DAY(DATE(2024,10,1)). TheWEEKDAYfunction will tell you the day of the week (Sunday=1, Monday=2, etc.). Based on this, you can manually input the date numbers, or use a more advanced method described below. -
Auto-populating Dates (Advanced): For a more dynamic calendar that automatically adjusts for different months and years, use a combination of formulas. Let’s assume you enter the year in cell A1 and the month number (1 for January, 2 for February, etc.) in cell B1. Then, in cell A3, use the following formula:
=IF(WEEKDAY(DATE(A1,B1,1))=1,1,""). This checks if the first day of the month is a Sunday (1). If it is, it displays "1"; otherwise, it leaves the cell blank. In cell B3, use:=IF(A3="", "", A3+1). This checks if the previous cell is empty. If it’s not, it adds 1 to the previous date. Continue this pattern across the row and down the columns, adjusting the formulas to account for the end of the week and the end of the month. You’ll need to useIFstatements to handle these situations and prevent errors. -
Formatting: Format the dates to your liking. You might want to center-align the numbers, use a specific font, or add borders to create a clear grid. Consider using conditional formatting to highlight weekends in a different color.
Part 2: Enhancing Your Calendar with Features
Once you have a basic monthly calendar, you can enhance it with several features:
-
Holidays: Add holidays by manually entering them into the relevant date cells or using a lookup table. You can create a separate sheet listing holidays and their dates, then use
VLOOKUPorINDEX/MATCHfunctions to automatically populate them in your calendar. -
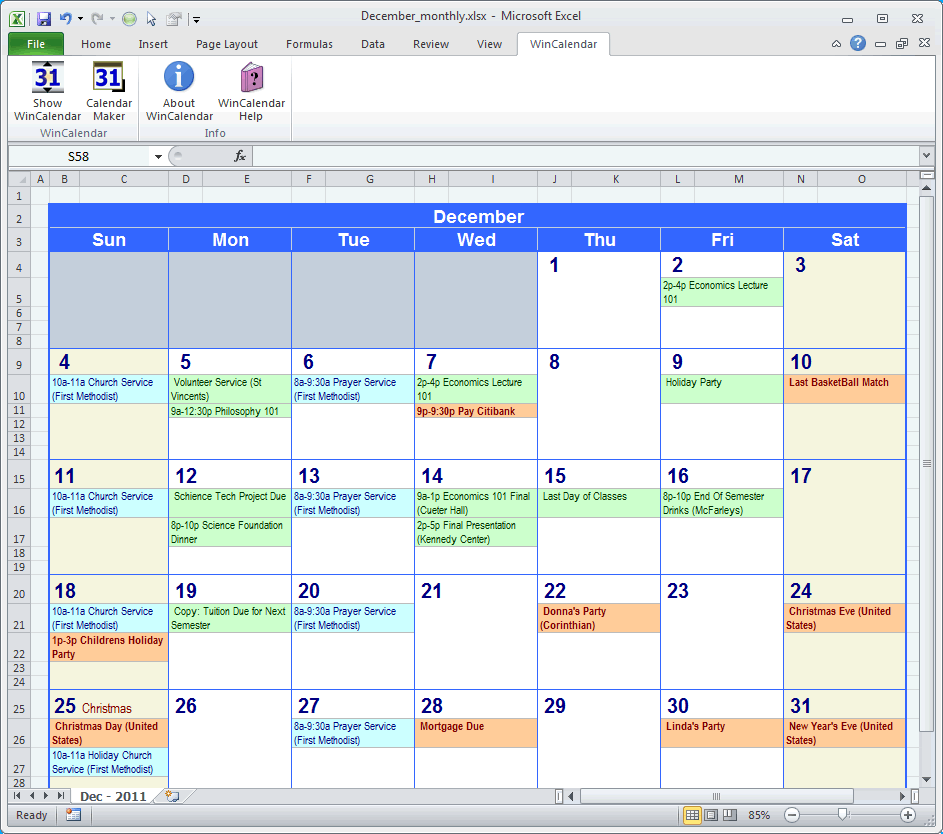
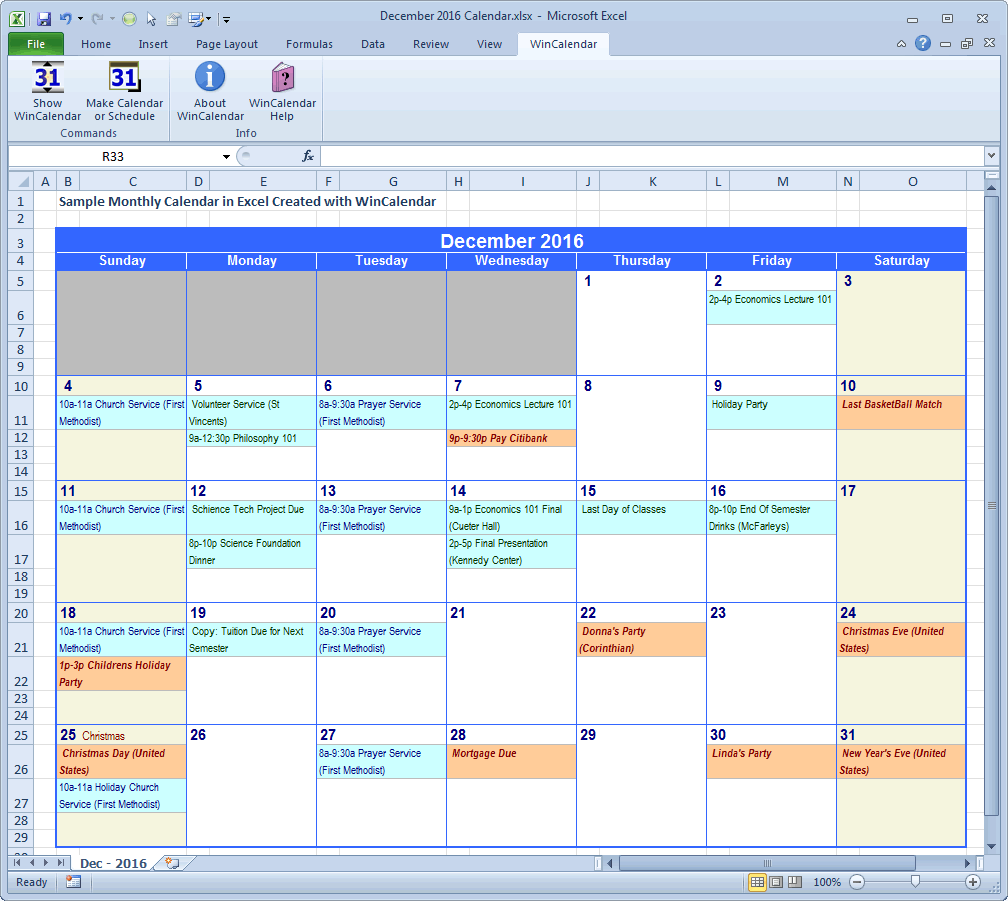
Appointments: You can add a column next to each date to record appointments or tasks. Use different colors or formatting to categorize them.
-
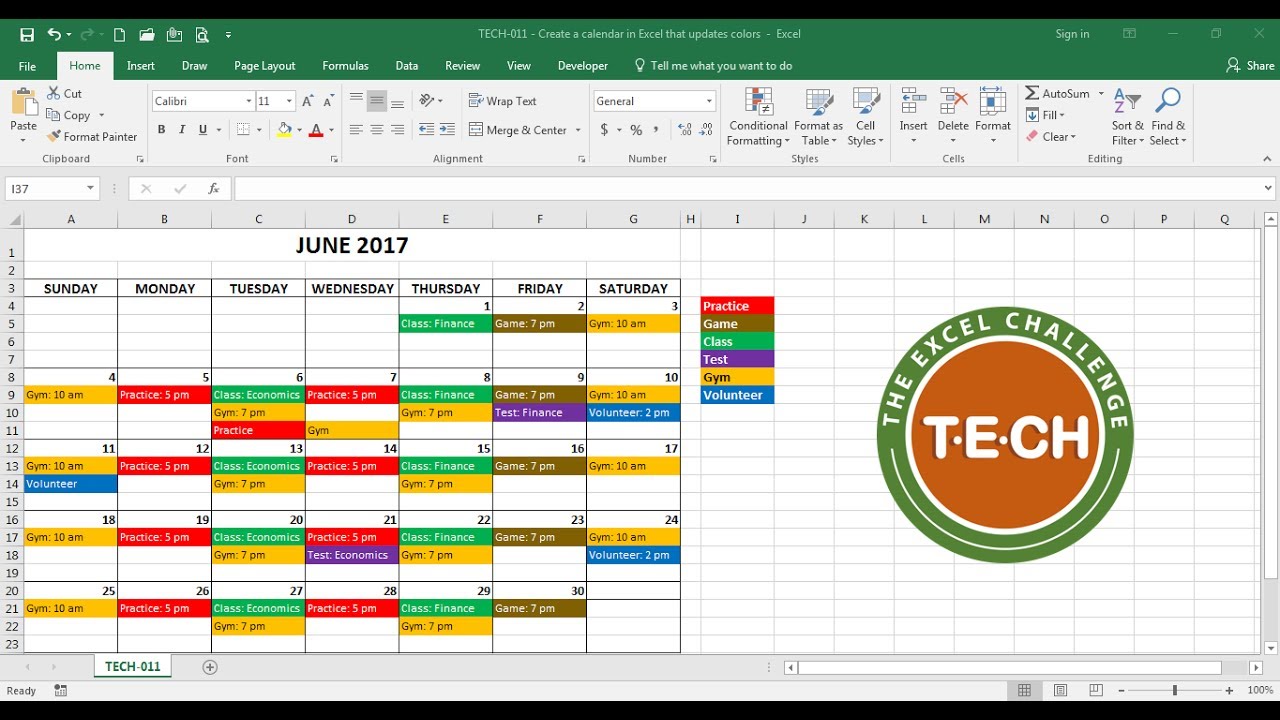
Color-Coding: Employ conditional formatting to visually represent different categories of events or appointments. For instance, you could color-code work-related tasks differently from personal appointments.
-
Multiple Months: Extend the calendar to display multiple months side-by-side. This is useful for long-term planning. Simply replicate the basic calendar structure and adjust the month and year accordingly.
-
Yearly Calendar: Create a yearly calendar by arranging 12 monthly calendars in a grid. This provides a comprehensive overview of the entire year.
-
Task Management: Integrate task management features by adding columns for task descriptions, deadlines, priorities, and status. You can use checkboxes to mark tasks as complete.
Part 3: Advanced Techniques and Considerations
Creating advanced calendars requires more sophisticated Excel techniques:
-
Macros: For highly customized calendars, consider using VBA macros. Macros can automate tasks such as generating calendars for specific years, automatically populating holidays, and creating interactive elements.
-
Data Validation: Use data validation to restrict input in certain cells, preventing errors and ensuring data consistency. For example, you can restrict date entries to valid dates within the month.
-
Charts and Graphs: Visualize calendar data using charts and graphs. For instance, you could create a bar chart showing the number of appointments per week or a pie chart showing the distribution of tasks across different categories.
-
External Data Sources: Connect your calendar to external data sources, such as online calendars or databases, to automatically update events and appointments.
-
Printing: Optimize your calendar for printing. Adjust margins, page breaks, and header/footer settings to ensure the calendar prints neatly and clearly.
Part 4: Example: Creating a Holiday Calendar
Let’s create a simple holiday calendar for 2024.
-
Holiday Data: Create a separate sheet named "Holidays" with two columns: "Date" and "Holiday". Enter the dates and names of the holidays for 2024.
-
Monthly Calendar: Create a basic monthly calendar as described in Part 1.
-
VLOOKUP Function: In the cells of your monthly calendar, use the
VLOOKUPfunction to find and display the holidays. For example, if cell B5 contains the date "1/1/2024", the following formula in cell C5 would display the corresponding holiday:=VLOOKUP(B5,Holidays!A:B,2,FALSE). This searches for the date in column A of the "Holidays" sheet and returns the corresponding holiday name from column B. If no match is found, it will return an error; you can useIFERRORto handle this gracefully.
Conclusion:
Creating calendars in Excel offers a powerful and flexible way to manage your time and organize your schedule. From simple monthly views to complex yearly calendars with integrated task management, the possibilities are vast. By mastering the techniques outlined in this guide, you can create customized calendars that meet your specific needs and enhance your productivity. Remember to experiment with different features and techniques to discover the best approach for your personal or professional use. The key is to start with a basic structure and gradually add features to create a calendar that is both functional and visually appealing.


Closure
Thus, we hope this article has provided valuable insights into Mastering the Art of Excel Calendars: From Basic to Beautiful. We appreciate your attention to our article. See you in our next article!