Mastering Calendly: A Comprehensive Guide to Setting Up and Optimizing Your Scheduling System
Related Articles: Mastering Calendly: A Comprehensive Guide to Setting Up and Optimizing Your Scheduling System
Introduction
With enthusiasm, let’s navigate through the intriguing topic related to Mastering Calendly: A Comprehensive Guide to Setting Up and Optimizing Your Scheduling System. Let’s weave interesting information and offer fresh perspectives to the readers.
Table of Content
Mastering Calendly: A Comprehensive Guide to Setting Up and Optimizing Your Scheduling System

Calendly has revolutionized appointment scheduling, offering a seamless and efficient way to manage your time and connect with clients, colleagues, or prospects. This comprehensive guide will walk you through every step of setting up your Calendly account, from initial configuration to advanced customization, ensuring you leverage its full potential.
Part 1: Getting Started – Creating Your Calendly Account and Initial Setup
-
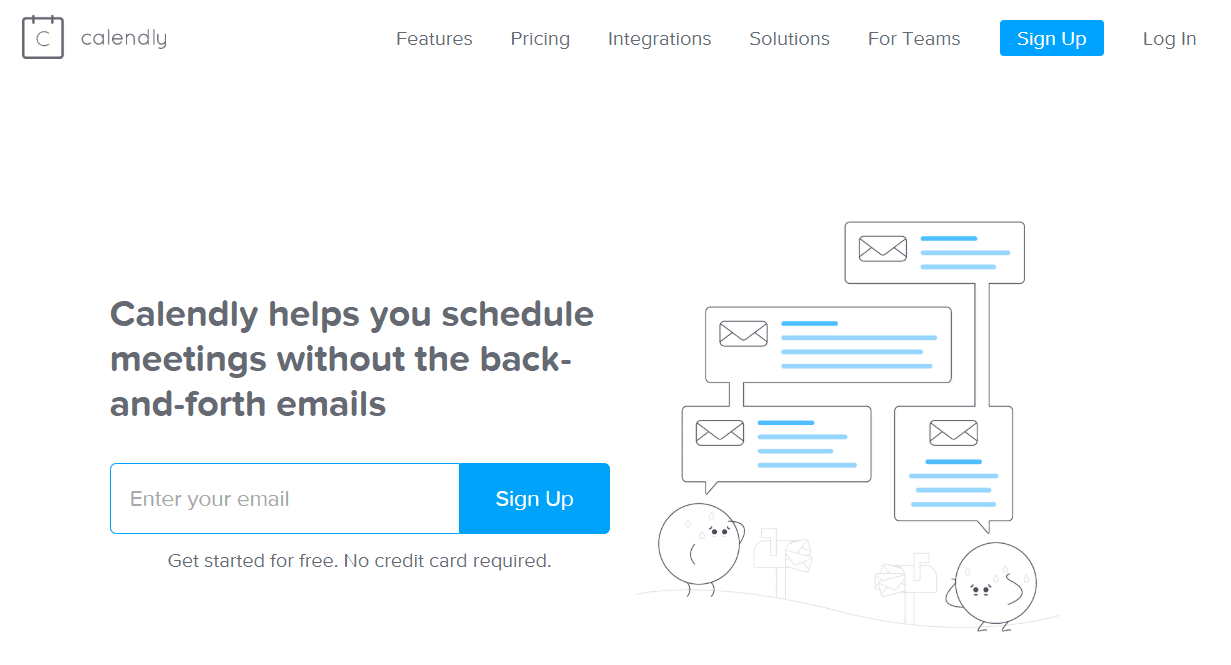
Sign Up and Account Creation: Begin by navigating to the Calendly website (calendly.com). Click on "Sign Up" and choose your preferred method – email address or Google/Microsoft account. You’ll be prompted to provide basic information such as your name and email address. Select a plan; Calendly offers various options, from a free plan suitable for individuals to enterprise plans catering to large teams. The free plan is a great starting point to explore the platform’s features.
-
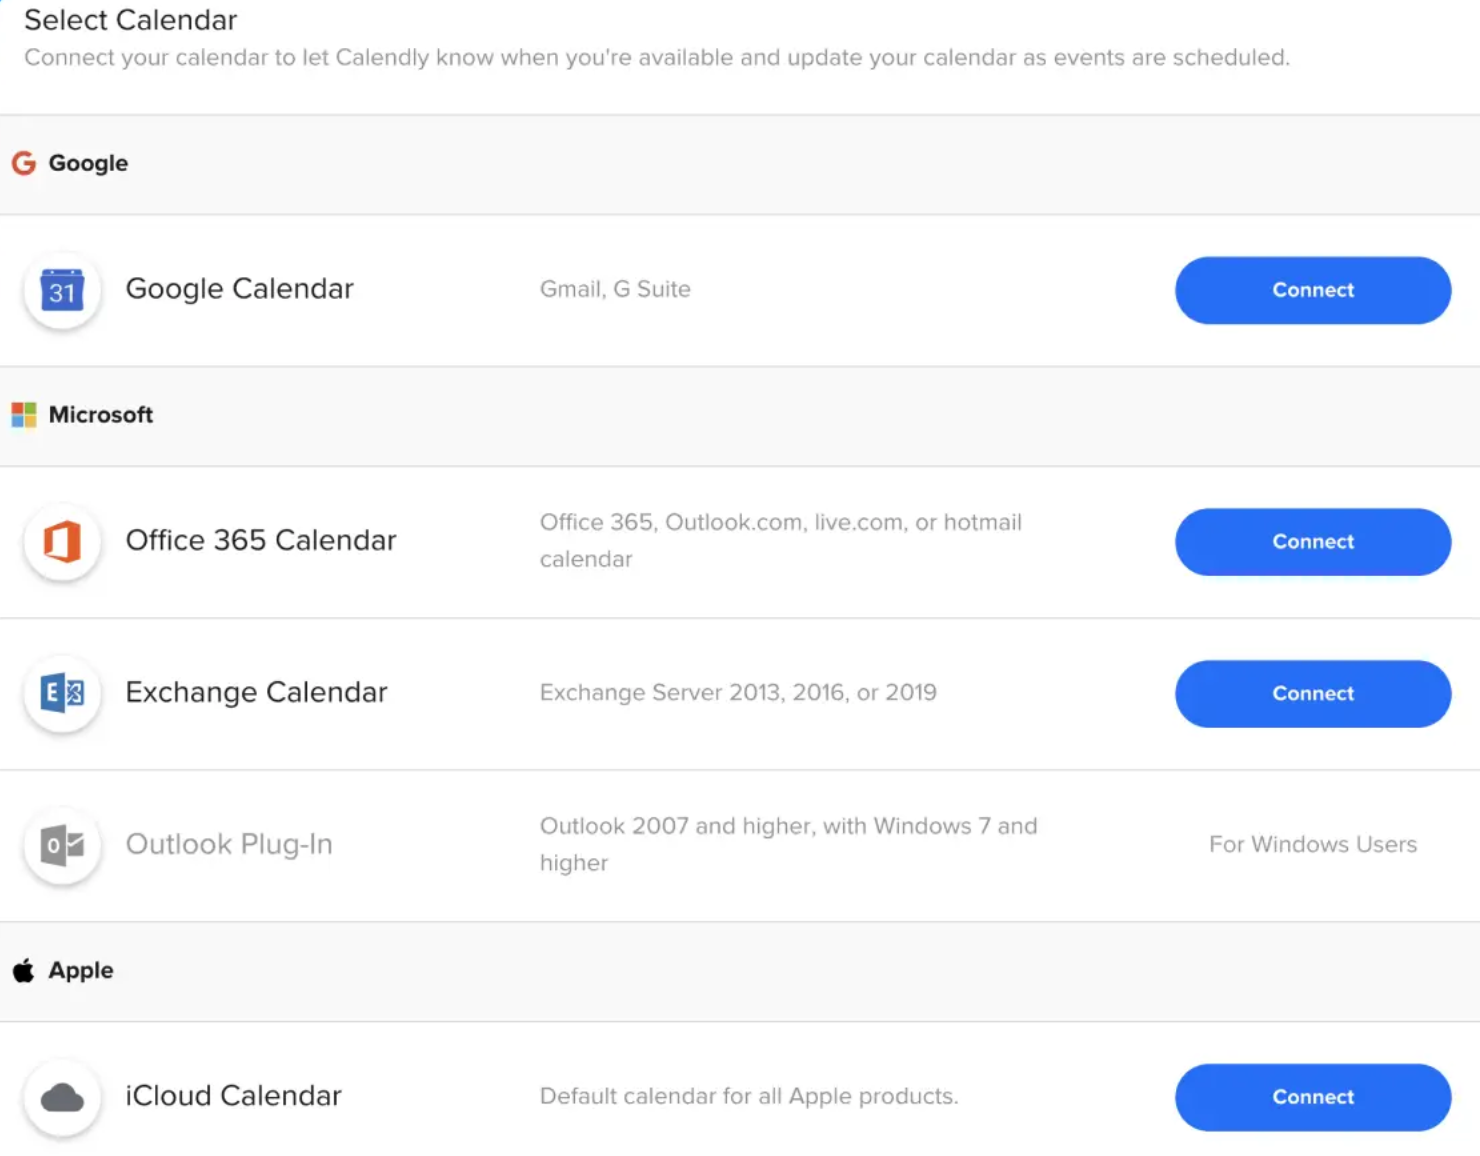
Connecting Your Calendar: This is a crucial step. Calendly needs access to your existing calendar (Google Calendar, Outlook, Office 365, etc.) to accurately reflect your availability. Calendly will guide you through the authorization process, requesting permission to read your calendar events. Ensure you’re connecting the correct calendar to avoid scheduling conflicts. This connection prevents double-bookings and ensures your availability is accurately displayed to those scheduling appointments.
-
Defining Your Availability: This is where you control when you’re available for appointments. Calendly provides flexible options:
- Working Hours: Set your regular working hours. This automatically blocks out time outside these hours, preventing bookings outside your typical schedule.
- Days Off: Specify recurring days off, like weekends or holidays, to prevent scheduling conflicts.
- Specific Dates: Block off specific dates or time ranges for events, vacations, or other commitments.
- Buffer Time: Add buffer time between appointments to allow for travel, preparation, or transitions. This is essential for maintaining a smooth workflow and preventing feeling rushed.
- Time Zones: Ensure your time zone is correctly set to avoid confusion with those scheduling appointments from different locations.
-
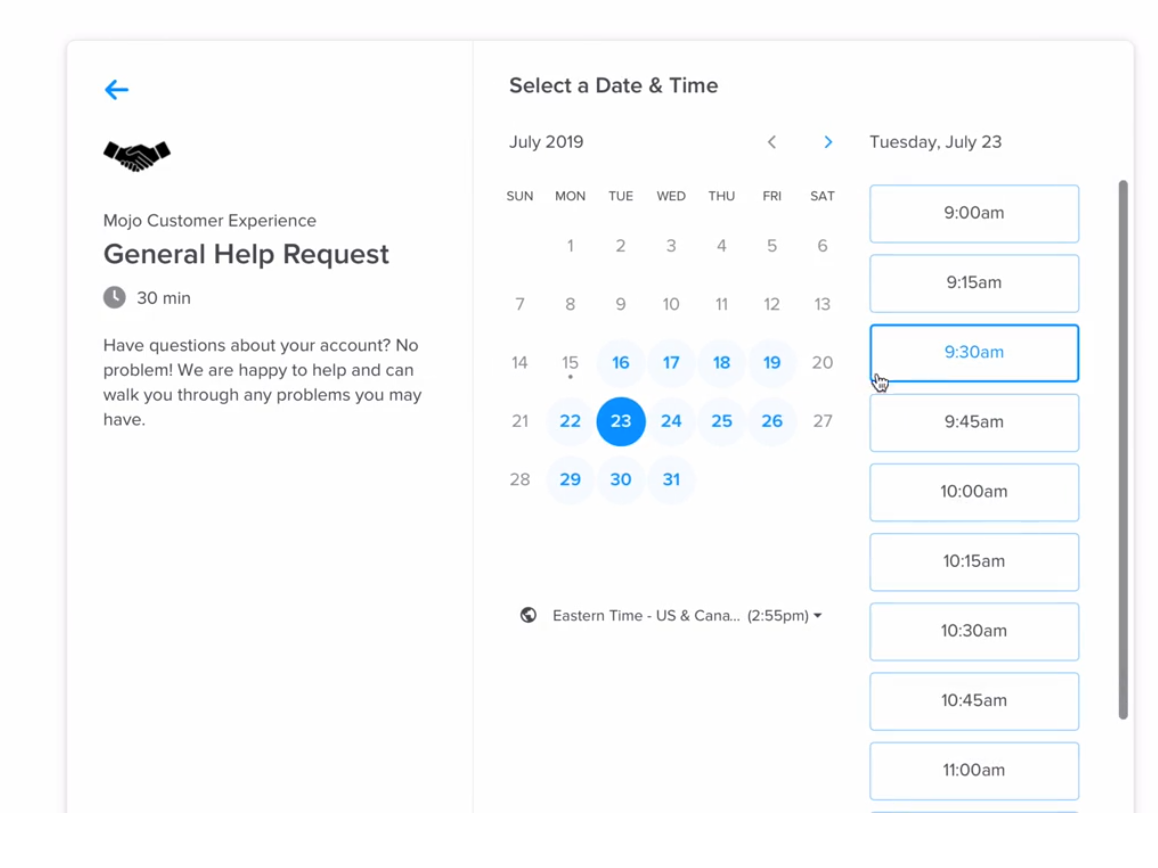
Creating Your First Event Type: Think of event types as templates for your appointments. Each event type represents a different type of meeting, such as a "15-minute consultation," a "30-minute coaching session," or a "1-hour project review." For each event type, you’ll define:
- Event Name: A clear and descriptive name for the event type.
- Duration: The length of the appointment.
- Buffer Time (optional): Add buffer time before and/or after the appointment.
- Appointment Limits: Set a daily or weekly limit on the number of appointments you can schedule for this event type. This helps manage your workload effectively.
- Location: Specify the location – physical address, online meeting link (Zoom, Google Meet, etc.), or "In Person" for in-office meetings.
Part 2: Customizing Your Calendly Experience
-
Branding Your Calendly Page: Make your scheduling page reflect your brand identity. Calendly allows you to customize various aspects:
- Custom URL: Create a professional and memorable URL for your scheduling page (e.g., calendly.com/yourname).
- Logo: Upload your company logo to enhance brand recognition.
- Colors: Choose colors that align with your brand’s color scheme.
- Custom Message: Personalize the introductory message to welcome your schedulers. This is a great place to set expectations and provide context.
- Background Image: Upload a relevant background image to enhance the visual appeal.
-
Collecting Information from Schedulers: Calendly allows you to collect valuable information from those booking appointments. You can add custom questions to your scheduling form:
- Contact Information: Collect email addresses, phone numbers, and other relevant contact details.
- Appointment Details: Gather information specific to the appointment, such as project details, topics to discuss, or preferences.
- Payment Information: Integrate with payment gateways (Stripe, PayPal) to collect payments directly through Calendly.
-
Integrating with Other Tools: Calendly integrates seamlessly with numerous tools to streamline your workflow:
- CRM Integrations: Connect with CRMs like Salesforce, HubSpot, and Zoho to automatically update contact information and track appointments.
- Video Conferencing: Integrate with Zoom, Google Meet, Microsoft Teams, and other video conferencing platforms to automatically generate meeting links.
- Marketing Automation: Connect with marketing automation tools like Mailchimp and ActiveCampaign to automate email sequences and follow-ups.
-
Advanced Features: Explore Calendly’s advanced features as your needs evolve:
- Team Calendars: Manage scheduling for multiple team members from a single dashboard.
- Round Robin Scheduling: Distribute appointments evenly among team members.
- Waiting Lists: Allow users to join a waiting list if your availability is full.
- Custom Workflows: Create customized workflows based on appointment type or other criteria.
- Reporting & Analytics: Track key metrics such as appointment bookings, cancellations, and no-shows to optimize your scheduling strategy.
Part 3: Optimizing Your Calendly Setup for Maximum Efficiency
-
A/B Testing: Experiment with different settings, such as custom messages and branding, to see what resonates best with your audience. Calendly’s analytics can help you track the effectiveness of different approaches.
-
Regular Maintenance: Review your calendar settings and event types periodically to ensure they remain accurate and up-to-date. Remove outdated event types and adjust your availability as needed.
-
Clear Communication: Ensure your scheduling page is clear and easy to navigate. Provide clear instructions and answer frequently asked questions.
-
Proactive Communication: Send automated email confirmations and reminders to keep schedulers informed and reduce no-shows. Calendly allows you to customize these emails to reflect your brand and provide valuable information.
Part 4: Troubleshooting Common Issues
- Double Bookings: Ensure your Calendly calendar is correctly connected to your primary calendar and that you’ve set appropriate buffer times and appointment limits.
- Scheduling Conflicts: Regularly review your availability and update your calendar with any changes to your schedule.
- Integration Problems: Check the Calendly help center for troubleshooting tips related to specific integrations.
- Technical Issues: Contact Calendly support for assistance with any technical problems.
By following this comprehensive guide, you can effectively leverage Calendly’s features to streamline your scheduling process, improve efficiency, and enhance your professional image. Remember to regularly review and optimize your settings to ensure your Calendly account remains a valuable asset in your workflow. The key to success is consistent use and a willingness to experiment to find the optimal configuration for your specific needs.


Closure
Thus, we hope this article has provided valuable insights into Mastering Calendly: A Comprehensive Guide to Setting Up and Optimizing Your Scheduling System. We appreciate your attention to our article. See you in our next article!