Banishing the Calendar: A Comprehensive Guide to Removing Calendar Views in Outlook
Related Articles: Banishing the Calendar: A Comprehensive Guide to Removing Calendar Views in Outlook
Introduction
With great pleasure, we will explore the intriguing topic related to Banishing the Calendar: A Comprehensive Guide to Removing Calendar Views in Outlook. Let’s weave interesting information and offer fresh perspectives to the readers.
Table of Content
Banishing the Calendar: A Comprehensive Guide to Removing Calendar Views in Outlook

Microsoft Outlook’s calendar function is a powerful tool for managing schedules, appointments, and events. However, for various reasons – a cluttered interface, a preference for alternative scheduling apps, or simply a desire for a cleaner Outlook experience – users may wish to remove or significantly alter their calendar view. This article provides a detailed walkthrough of how to achieve this, covering a range of scenarios and addressing potential difficulties.
Understanding the Options: Removing vs. Hiding
Before diving into the specifics, it’s crucial to understand the difference between removing and hiding your calendar. Removing a calendar permanently deletes it from your Outlook profile, including all associated data. Hiding a calendar, on the other hand, simply removes it from your main view while preserving all its data. You can easily restore a hidden calendar at any time. The best approach depends entirely on your needs.
Method 1: Hiding a Calendar (Recommended for most users)
Hiding a calendar is the preferred method for most users who simply want to declutter their Outlook interface without losing valuable data. This method applies to both individual calendars and shared calendars.
Steps:
-
Open Outlook: Launch your Microsoft Outlook application.
-
Navigate to the Calendar View: In the Outlook navigation pane (usually on the left), click on the "Calendar" icon.
-
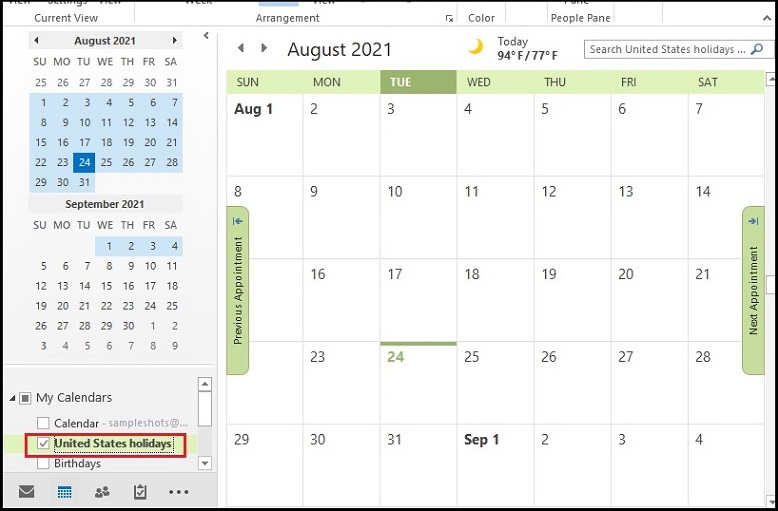
Select the Calendar to Hide: Locate the calendar you wish to hide in the navigation pane. This could be your primary calendar, a shared calendar, or a calendar you’ve created.
-
Right-Click and Choose "Hide: Right-click on the calendar’s name in the navigation pane. A context menu will appear. Select the option "Hide from this folder." Note that the wording might slightly vary depending on your Outlook version.
-
Confirmation (Optional): Depending on your Outlook settings, you might receive a confirmation prompt. Confirm your action to hide the calendar.
-
Verification: The calendar should now be removed from your main view. To verify, check the navigation pane; the hidden calendar will no longer be visible there.
Restoring a Hidden Calendar:
To restore a hidden calendar, follow these steps:
-
Open Outlook and Navigate to Calendar: As before, open Outlook and go to the Calendar view.
-
Access Hidden Calendars: Click on the "Folder" tab in the Outlook ribbon (usually at the top). Then, click on the "Open" button, followed by "Hidden Folders."
-
Select and Show the Calendar: A list of hidden folders and calendars will appear. Locate the calendar you wish to restore and select it. Then, click the "Show/Hide" button in the ribbon (or equivalent option depending on your version).
-
Verification: The calendar should reappear in the navigation pane and be visible in your main calendar view.
Method 2: Deleting a Calendar (Use with Caution!)
Deleting a calendar is irreversible. All appointments, events, and data associated with that calendar will be permanently lost. Proceed with extreme caution and only use this method if you are absolutely certain you no longer need the calendar’s data. This method applies primarily to calendars you’ve created yourself; deleting shared calendars requires different permissions and considerations.
Steps:
-
Open Outlook and Navigate to Calendar: Launch Outlook and go to the Calendar view.
-
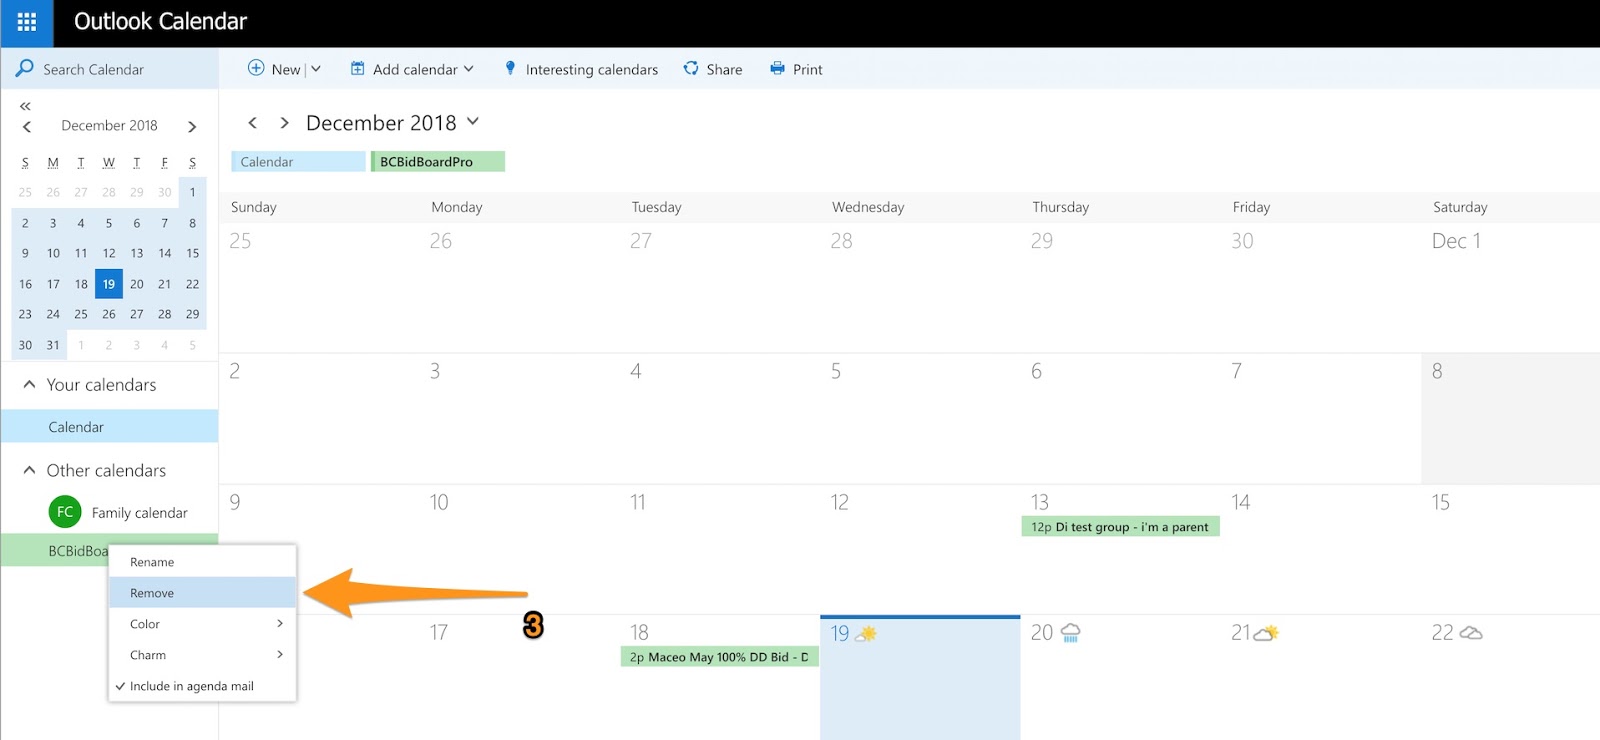
Select the Calendar to Delete: Locate the calendar you wish to delete in the navigation pane.
-
Right-Click and Choose "Delete: Right-click on the calendar’s name. Select the "Delete Folder" option from the context menu.
-
Confirmation: Outlook will likely prompt you for confirmation. Carefully review the warning message before confirming the deletion. This action cannot be undone.
-
Verification: The calendar should be permanently removed from your Outlook profile.
Dealing with Specific Calendar Types:
-
Shared Calendars: Deleting or hiding shared calendars might require different permissions. You may need to contact the calendar owner or administrator to make changes. Hiding a shared calendar only hides it from your view; it remains accessible to others.
-
Subscription Calendars: If you’ve subscribed to a calendar (like a public holiday calendar), you can typically unsubscribe to remove it from your Outlook view. The method for unsubscribing might vary depending on how you initially subscribed. Look for an "Unsubscribe" option within the calendar’s settings.
-
Calendars from Different Accounts: If you have multiple email accounts connected to Outlook, each account may have its own calendar. You can hide or delete calendars associated with individual accounts using the methods described above, but you’ll need to navigate to the appropriate account’s calendar first.
Troubleshooting Common Issues:
-
Calendar Not Appearing in the Navigation Pane: If you can’t find the calendar you want to hide or delete, ensure you’re in the correct mailbox or account. Check your Outlook settings to make sure all your calendars are properly synced.
-
Unable to Delete a Calendar: You might lack the necessary permissions to delete a shared calendar or a calendar belonging to another user. Contact the calendar owner or administrator for assistance.
-
Accidental Deletion: If you accidentally delete a calendar, data recovery might be possible depending on your Outlook settings and data backup strategies. Contact Microsoft support or a data recovery specialist for assistance. This is why backing up your data regularly is crucial.
Alternative Approaches for a Cleaner Outlook Experience:
If simply hiding or deleting calendars isn’t enough to declutter your Outlook interface, consider these alternatives:
-
Categorization: Use Outlook’s categorization features to assign colors or labels to different types of appointments, making it easier to visually distinguish between them.
-
Filtering: Create custom filters to show only specific types of appointments or events, reducing visual clutter.
-
Using Multiple Views: Create different calendar views (day, week, month) to suit your needs and switch between them as required.
-
Third-Party Calendar Apps: Consider using a dedicated calendar app alongside Outlook, allowing you to manage your schedule in a separate, more streamlined environment.
By carefully following the steps outlined in this guide and understanding the nuances of hiding versus deleting, you can effectively manage your Outlook calendar and create a more organized and efficient workflow. Remember to always back up your data before making significant changes to your Outlook profile to prevent irreversible data loss. Choosing the right approach depends on your specific needs and comfort level with managing your Outlook data. Always prioritize data safety and proceed cautiously when deleting any calendar data.


Closure
Thus, we hope this article has provided valuable insights into Banishing the Calendar: A Comprehensive Guide to Removing Calendar Views in Outlook. We hope you find this article informative and beneficial. See you in our next article!