Banishing the Busy: A Comprehensive Guide to Deleting Calendars from Your iPhone
Related Articles: Banishing the Busy: A Comprehensive Guide to Deleting Calendars from Your iPhone
Introduction
With enthusiasm, let’s navigate through the intriguing topic related to Banishing the Busy: A Comprehensive Guide to Deleting Calendars from Your iPhone. Let’s weave interesting information and offer fresh perspectives to the readers.
Table of Content
Banishing the Busy: A Comprehensive Guide to Deleting Calendars from Your iPhone
![How to Delete Calendars on iPhone [Ultimate Guide]](https://www.fonelab.com/images/foneeraser/delete-iphone-calendar-event/delete-iphone-calendars-on-app.jpg)
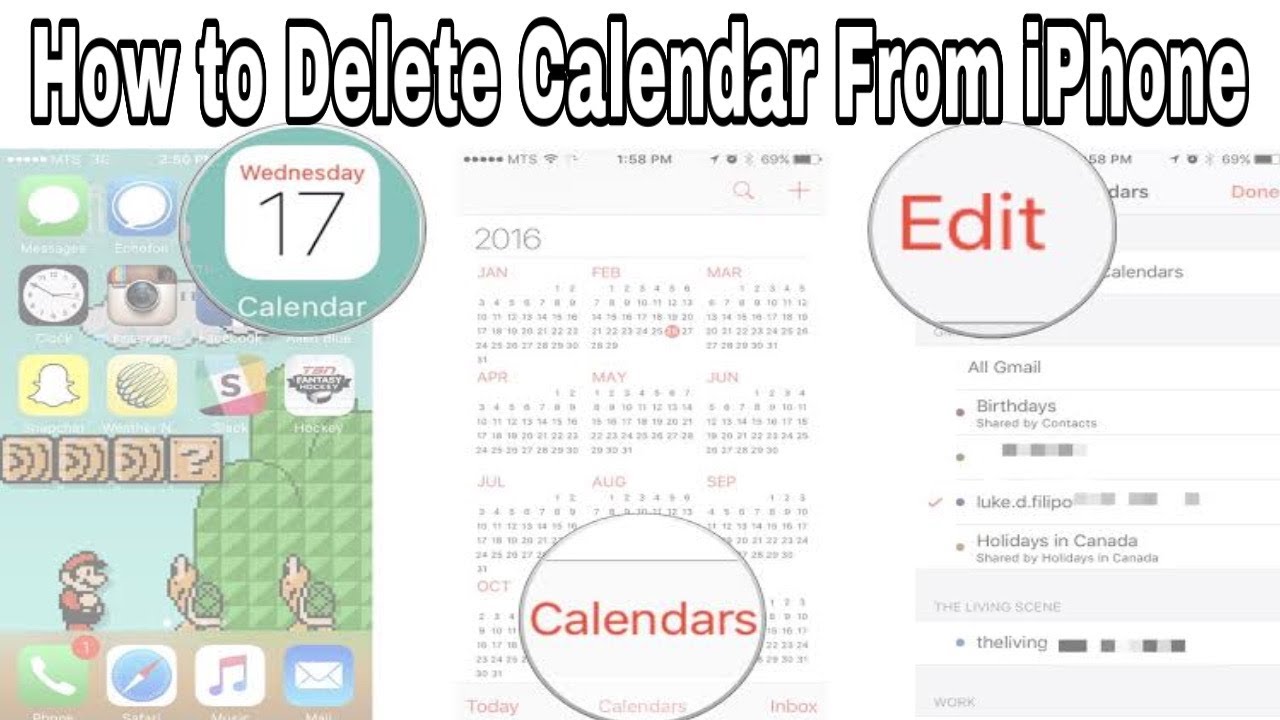
Your iPhone calendar is a powerful tool, keeping you organized and on schedule. But what happens when a calendar becomes obsolete, redundant, or simply a source of unwanted notifications? Deleting a calendar from your iPhone might seem straightforward, but the process can vary depending on the type of calendar you’re removing – a locally created calendar, a subscribed calendar, or one linked to a specific account. This comprehensive guide will walk you through each scenario, ensuring a smooth and complete removal, leaving your calendar app neat and efficient.
Understanding Calendar Types on Your iPhone
Before diving into the deletion process, it’s crucial to understand the different types of calendars you might find on your iPhone:
-
Local Calendars: These are calendars created directly on your iPhone. They’re stored only on your device and aren’t synced with any online accounts. Deleting a local calendar removes it entirely from your iPhone.
-
Subscribed Calendars: These are calendars you’ve subscribed to, often containing public events like holidays, sports schedules, or meeting times from external sources. Deleting a subscribed calendar unsubscribes you from the feed, removing the events from your view.
-
Account-Linked Calendars: These calendars are connected to your online accounts, such as iCloud, Google, Outlook, or Exchange. Deleting these calendars typically removes them from your iPhone but may not delete the calendar data from the source account itself. This is a critical distinction; you’ll still have the calendar data on the server unless you delete it from the source.
Method 1: Deleting a Local Calendar
Local calendars are the simplest to remove. Here’s how to delete one:
-
Open the Calendar App: Locate and tap the "Calendar" app icon on your iPhone’s home screen.
-
Navigate to Calendars: In the Calendar app, you’ll usually see a list of your calendars on the left-hand side. If not, tap the "Calendars" button (it might be represented by three lines or a list icon). This will reveal a list of all your active calendars.
-
Select the Calendar: Find the local calendar you wish to delete. It will likely be named something you created, unlike pre-populated calendars like "Birthdays" or those linked to accounts.
-
Edit the Calendar: Swipe left on the calendar you want to delete. A red "Delete" button will appear.
-
Confirm Deletion: Tap the "Delete" button. A confirmation prompt may appear; tap "Delete Calendar" to finalize the process.
Important Note: Deleting a local calendar is permanent. There’s no undo function, so double-check you’re deleting the correct calendar before proceeding. Any events within this calendar will be lost.
Method 2: Deleting a Subscribed Calendar
Unsubscribing from a calendar is similar to deleting a local one, but the process slightly differs:
-
Open the Calendar App and Access Calendars: Follow steps 1 and 2 from Method 1 to open the Calendar app and access the list of your calendars.
-
Locate the Subscribed Calendar: Identify the calendar you wish to unsubscribe from. It might be named after the source (e.g., "Public Holidays," "Sports Team Schedule").
-
Edit the Calendar: Similar to deleting a local calendar, swipe left on the subscribed calendar. A red "Delete" or "Unsubscribe" button will appear. The exact wording may vary slightly depending on the iOS version.
-
Confirm Unsubscription: Tap the button to confirm. This will remove the subscribed calendar and its events from your iPhone’s calendar view. You can always resubscribe later if needed.
Method 3: Deleting an Account-Linked Calendar
Deleting an account-linked calendar is more nuanced because it involves managing the connection between your iPhone and the external calendar service. The exact steps may vary slightly depending on the account type (iCloud, Google, Outlook, etc.), but the general process follows these guidelines:
A. Deleting from the Calendar App (Partial Deletion):
-
Open the Calendar App and Access Calendars: Follow steps 1 and 2 from Method 1.
-
Locate the Account-Linked Calendar: Find the calendar associated with the account you want to remove.
-
Edit the Calendar: Swipe left and tap "Delete" or a similar option. This will remove the calendar’s visibility from your iPhone’s calendar app. However, the calendar data will likely remain on the source account’s server.
B. Deleting from the Account Settings (Complete Deletion):
This method offers more control and ensures complete removal of the calendar from your iPhone and potentially from the server (depending on your account settings and further actions on the server-side).
-
Open Settings: Go to your iPhone’s "Settings" app.
-
Access Accounts & Passwords (or similar): The exact wording might be slightly different depending on your iOS version. Look for an option like "Accounts & Passwords," "Mail," "Contacts," "Calendars," or a similar setting related to your accounts.
-
Select the Account: Find the account linked to the calendar you want to delete (e.g., iCloud, Google, Outlook).
-
Manage Account Settings: Tap on the account to access its settings. You’ll usually find options to manage calendars, contacts, and other associated data.
-
Delete the Calendar (or Account): Depending on the account type, you might find an option to delete specific calendars or to delete the entire account from your iPhone. Deleting the entire account will remove all associated calendars, contacts, and emails.
-
Confirm Deletion: Carefully review the deletion prompt before confirming.
Important Considerations for Account-Linked Calendars:
-
Server-Side Data: Remember that deleting a calendar from your iPhone doesn’t automatically delete it from the source account (iCloud, Google, etc.). You’ll need to log into that account separately to delete the calendar from the server if you want complete removal.
-
Data Synchronization: After deleting an account-linked calendar, ensure your iPhone is connected to the internet to synchronize changes. This prevents potential conflicts or inconsistencies.
-
Account Deletion vs. Calendar Deletion: Carefully distinguish between deleting the entire account and deleting only a specific calendar. Deleting the account will remove all associated data, while deleting a calendar usually only removes that specific calendar’s visibility.
Troubleshooting Common Issues:
-
Calendar Not Appearing: If you can’t find the calendar you want to delete, ensure the calendar is enabled in your iPhone’s Calendar settings.
-
Deletion Failure: If you encounter errors during the deletion process, try restarting your iPhone. If the issue persists, contact Apple support or consult the support documentation for the specific calendar service (iCloud, Google, etc.).
-
Unexpected Behavior: After deleting a calendar, wait a few minutes for the changes to synchronize. If the calendar unexpectedly reappears, check your account settings and internet connectivity.
Conclusion:
Deleting calendars from your iPhone can be a straightforward process once you understand the different types of calendars and the appropriate methods for removal. By following the steps outlined in this guide, you can efficiently manage your calendar app, ensuring a clutter-free and productive experience. Remember to always double-check your actions before deleting, particularly when dealing with account-linked calendars, to avoid unintended data loss. With careful attention to detail, you can maintain a well-organized and functional calendar system on your iPhone.


:max_bytes(150000):strip_icc()/A3-DeleteaCalendaroniPhone-annotated-d1d04a7b9b014bc8b7e53c4c063f3a24.jpg)


Closure
Thus, we hope this article has provided valuable insights into Banishing the Busy: A Comprehensive Guide to Deleting Calendars from Your iPhone. We appreciate your attention to our article. See you in our next article!